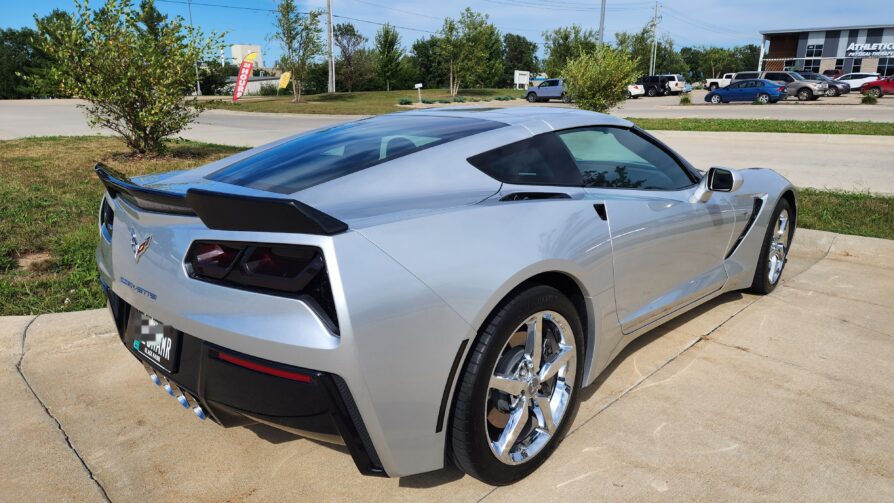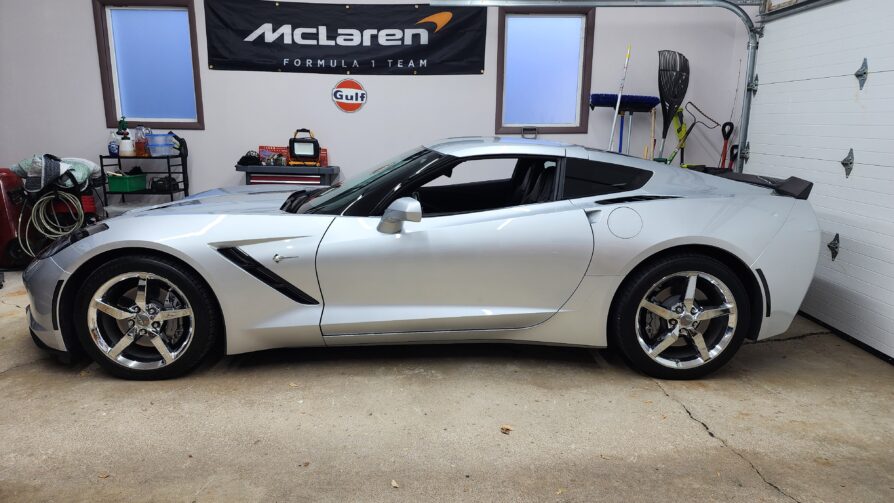
I am still waiting for my supercharger to be delivered, so this was my next project and likely the last one this driving season. I plan on having Beyer Motorsports install the supercharger since I am comfortable with having R.J. manage that project for me. His team is excellent.
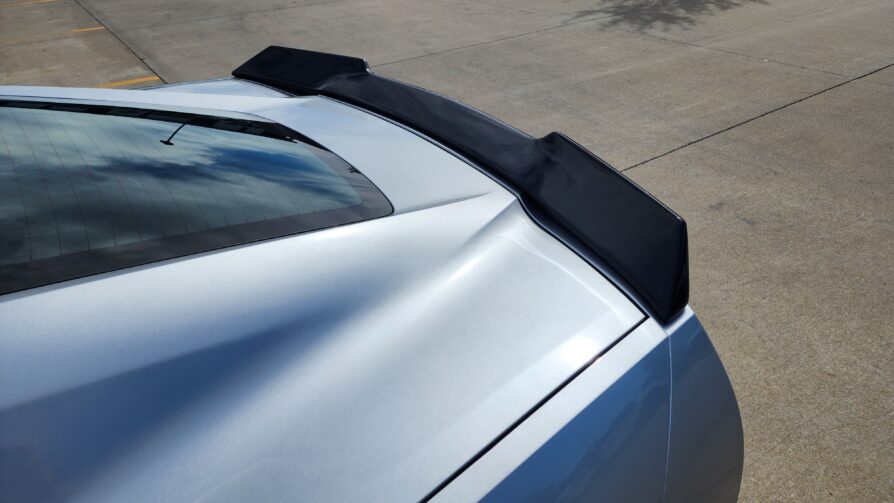
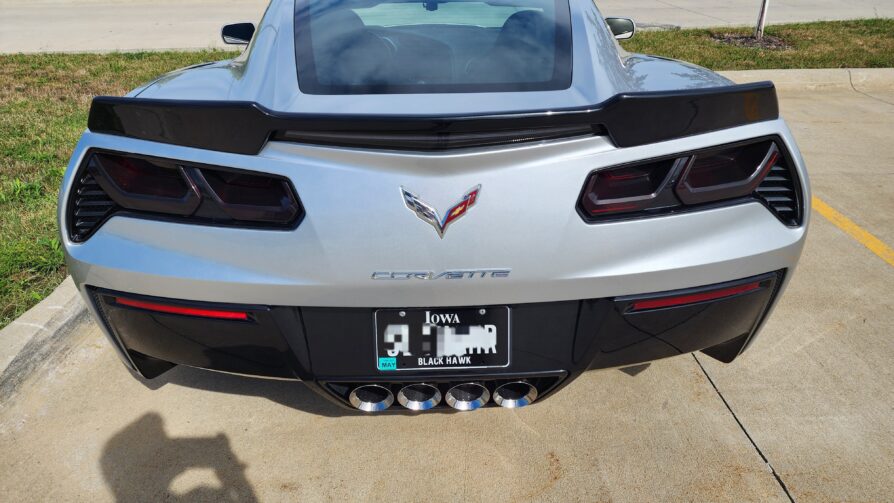
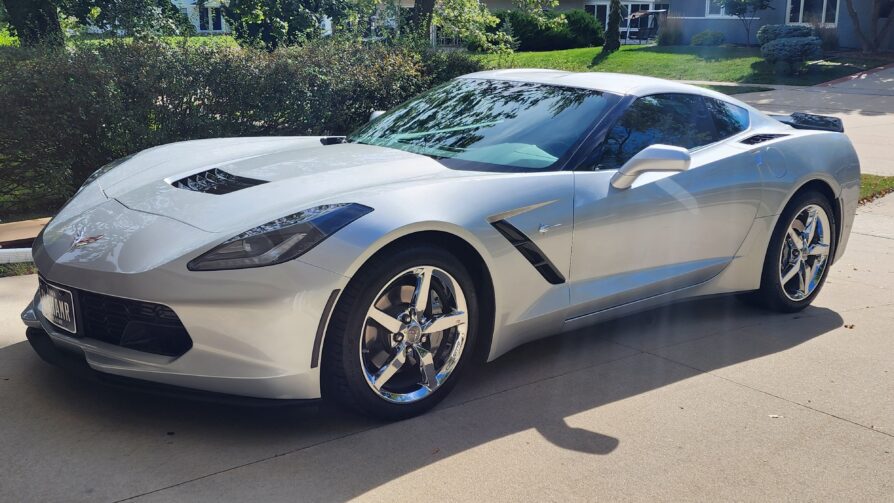
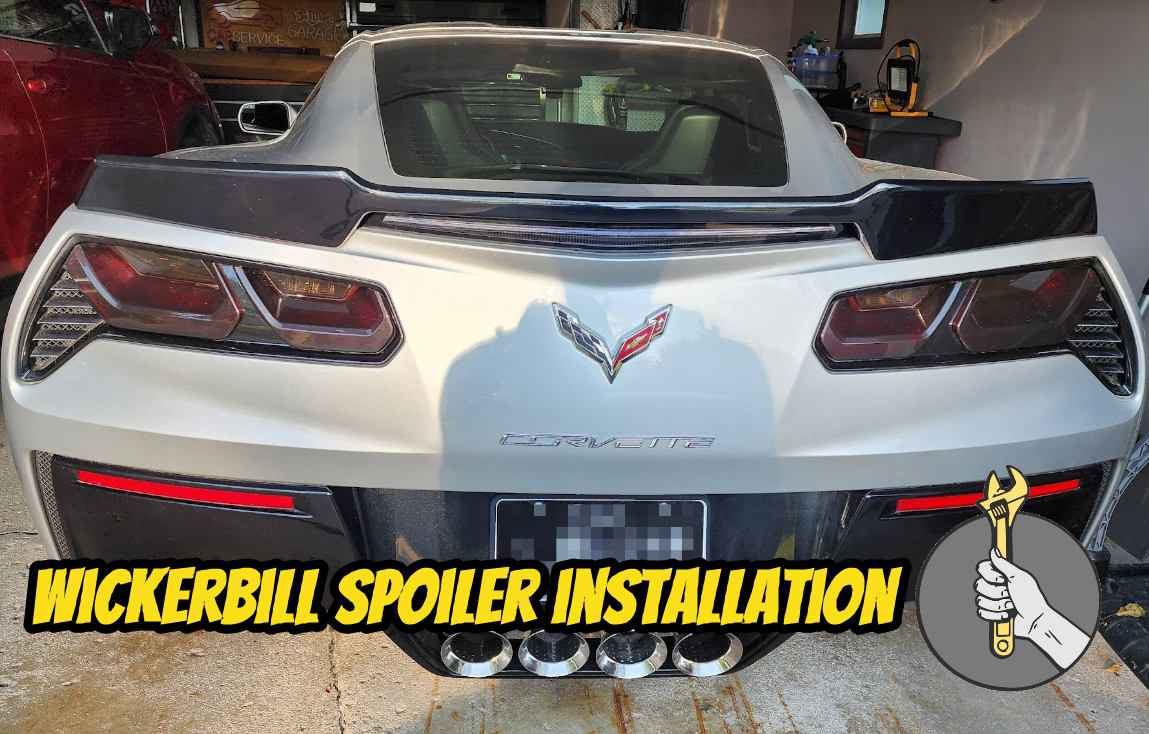
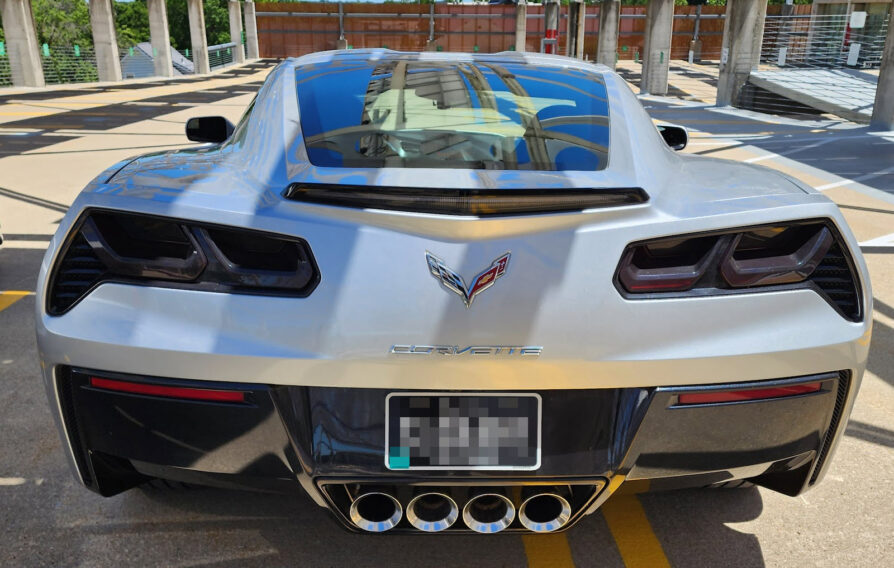
My Corvette is a base model 1LT, and it didn’t have a rear spoiler, although some people call the third brake light housing a duckbill spoiler. I wanted a more aggressive look to the car, but I didn’t like the Z51 style spoiler (too tame) or the full stage 2 wicker-bill spoiler (too exotic and boy-racer). I looked around a lot and discovered DAR Spoilers. They offer a variety of spoilers for many different makes and models of cars. Their wickerbill inspired spoiler was precisely what I was looking for since it was a good balance between a stock low-rise spoiler and an exotic stage 2.
I didn’t want to drill into the rear bumper cover because that scared me. If I didn’t like it, I would still have to leave it or choose a different spoiler and hope the holes matched up. Thankfully, DAR sells spoilers for a no-drill installation that uses 3M tape and 3M adhesion promoter. I did a lot of research, and it turns out that many Corvette owners are running taped-on spoilers with success … if done right. Even Mercedes and some other manufacturers tape them from the factory. I decided to order one since there was a sale on them then.
I ordered mine painted carbon flash to match the rest of the black on the car. I wasn’t a big fan of body-color painted spoilers because I wanted that contrast and aggressive look. The images below show the spoiler being test-fitted, and it is not taped down yet.
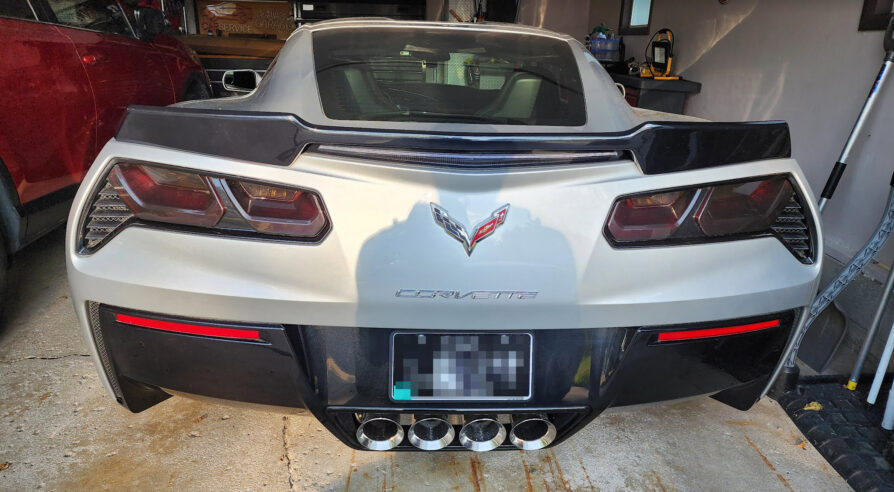


Installation:
Installation is simple. Clean the surface with alcohol wipes, apply 3M adhesion promoter, and then carefully mount the spoiler. I marked the alignment with masking tape to set it in place perfectly. I then sat some 25-pound bags of shot on the spoiler to help get all tape surfaces in contact with the body.
