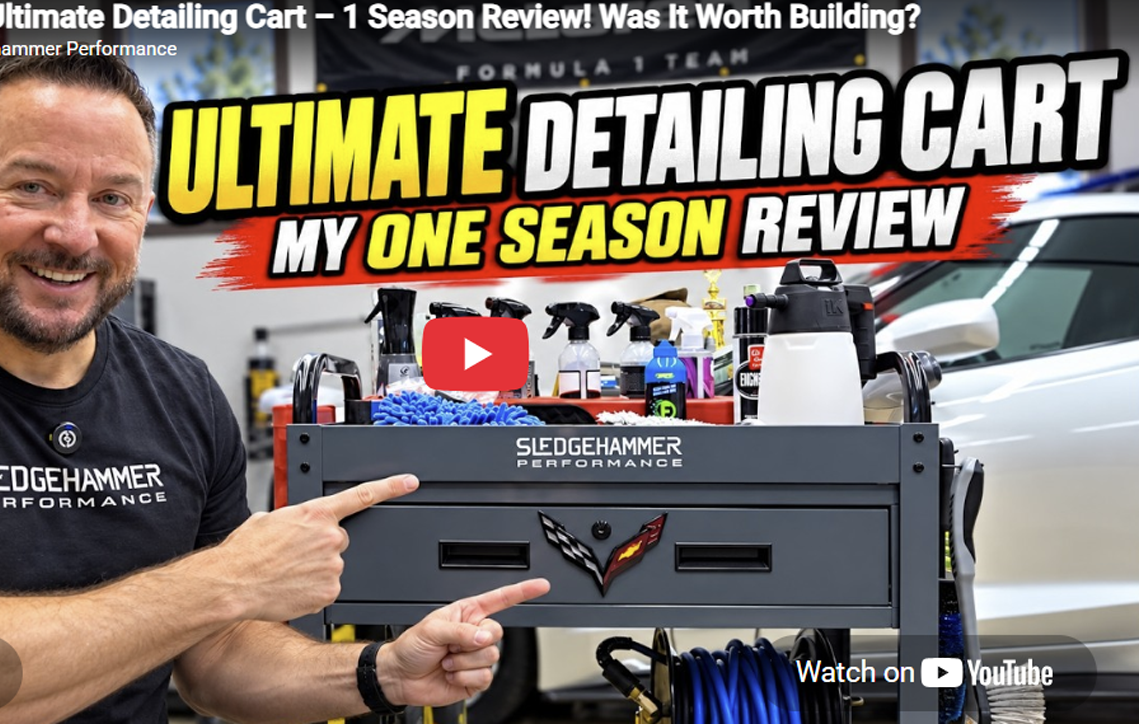
One full season of detailing, a few upgrades, and plenty of time behind the pressure washer. Here’s what I’ve learned about my ultimate detailing cart!
When I first started building my ultimate detailing cart, I had a pretty simple goal: make washing and detailing my vehicles easier, more organized, and a whole lot more enjoyable.
Like a lot of DIY car enthusiasts, I was tired of dragging equipment around the garage, untangling hoses, moving the pressure washer from one spot to another, and spending more time setting everything up than actually washing the car.
I wanted a setup where everything had its place, everything was ready to go, and I could spend less time messing around with equipment and more time doing what I enjoy.
So I built my ultimate detailing cart.
Now that I’ve put it through an entire season of detailing, it’s time to look back at what worked, what I’ve changed, and whether the investment was actually worth it.
If you’ve followed Sledgehammer Performance for a while, you already know I enjoy making improvements to my vehicles and my garage.
For me, half the fun is figuring out how to make something work better.
My detailing setup was no exception.
Before building the cart, washing the Corvette meant gathering up the pressure washer, hoses, detailing chemicals, foam cannon, and all the other accessories needed to get the job done.
It worked, but it certainly wasn’t efficient.
I wanted something that would keep my equipment organized, make setup and cleanup faster, and give my garage a more professional detailing setup without spending professional-detailer money.
And that’s really where the idea for the cart came from.
One of the most important parts of my detailing setup has been the Active 2.0 pressure washer.
When you’re washing vehicles regularly, having a dependable pressure washer makes a big difference.
The Active 2.0 has become a key part of my setup, and integrating it into the cart helps keep the entire process organized.
Instead of constantly moving equipment around or figuring out where to place the pressure washer, I have a dedicated location for it.
It’s one of those improvements that might seem relatively minor until you’ve used it for an entire season.
Then you wonder why you didn’t do it sooner!
One thing I’ve learned from years of working on cars is that no project is ever really finished.
You build something, use it for a while, and eventually discover a few things you could improve.
My detailing cart has been no different.
Throughout the season, I’ve had opportunities to evaluate the layout, how easily I can access the equipment, and how the cart fits into my detailing routine.
Some things worked exactly as I had hoped. Others gave me ideas for making the setup even better.
That’s part of what makes DIY projects so enjoyable. You’re not stuck with something designed for everyone else. You can make changes based on how you actually use it.
The cart has evolved from a project I thought would be useful into something that’s become a regular part of my garage routine.
And I wouldn’t be surprised if a few more changes happen before next season!
Here’s something that might surprise you.
The biggest benefit of my detailing cart isn’t necessarily the equipment itself.
It’s the convenience.
When everything is organized and easily accessible, washing the car becomes less of a chore.
I don’t have to spend nearly as much time gathering equipment, sorting through accessories, or putting everything away afterward.
And when you have a vehicle like my C7 Corvette that you enjoy keeping clean, that convenience really matters.
I’m much more likely to give the car a quick wash when the process is simple.
That means more time enjoying the Corvette and less time dealing with the equipment needed to maintain it.
Absolutely!
There’s something satisfying about having a garage setup that works the way you want it to.
Everything has a purpose, everything has a place, and the entire washing process feels more streamlined.
I’m not a professional detailer, and I’m not trying to build a commercial detailing business.
I’m simply a car enthusiast who likes taking care of his vehicles and enjoys finding ways to make garage projects better.
That’s what Sledgehammer Performance is all about.
Real projects, practical modifications, and sharing what I’ve learned along the way.
Without hesitation.
After one season, I can say that building my ultimate detailing cart has been one of the more useful garage projects I’ve taken on.
It hasn’t made me a professional detailer, and it certainly hasn’t eliminated all the work involved in washing a vehicle.
But it has made the process more convenient, more organized, and more enjoyable.
And sometimes that’s all you really need from a good DIY project.
If you’re someone who regularly washes your own vehicles and enjoys organizing your garage, a dedicated detailing cart is definitely worth considering.
You don’t have to build the most expensive setup, either.
Start with what you need, figure out what works for your situation, and make improvements as you go.
That’s exactly the approach I’ve taken.
If you’re thinking about building your own detailing cart, hopefully my experience gives you a few ideas for your garage.
And if you’ve already built one, I’d love to hear about your setup. What equipment are you using, and what modifications have made the biggest difference?
Leave a comment on the video and let me know!
Thanks for checking out Sledgehammer Performance. If you enjoy DIY automotive projects, Corvette modifications, garage upgrades, detailing, and real car show coverage, be sure to subscribe to my YouTube channel, @sledgehp.
Real car shows. Real builds. Real horsepower.
— Sledgehammer Performance

Copyright 2026 Sledgehammer Performance - All Rights Reserved