My garage was built with the house in the early 1970s and has had drywall and a textured ceiling for several years. Like any garage, the walls have taken a few scuffs and dents, so it was time for a refresh that I will lay out in three stages. All work is DIY and I make no claims to being a handyman nor am I going for a precise finish since it is my shop. My good friend, Tom, helped a lot since he had a lot of DIY experience at his house. He knows what he is doing.
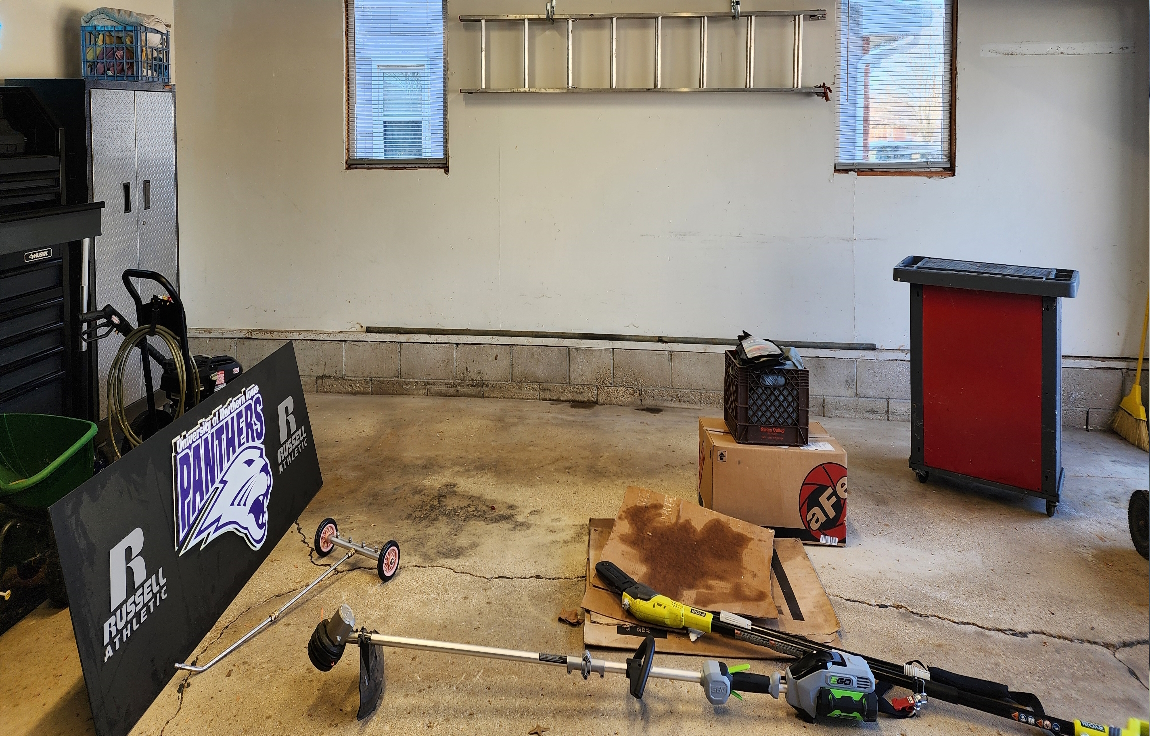
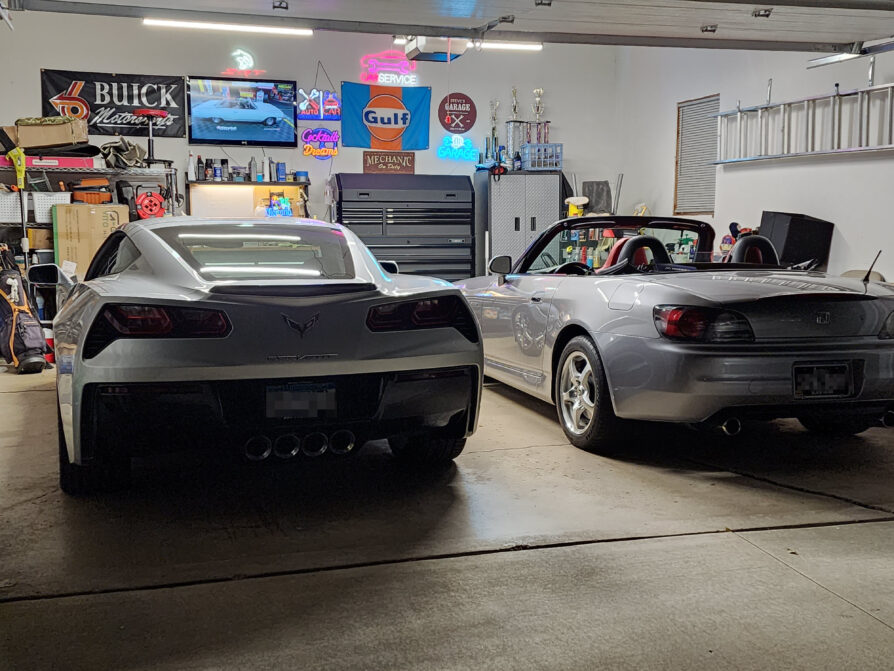
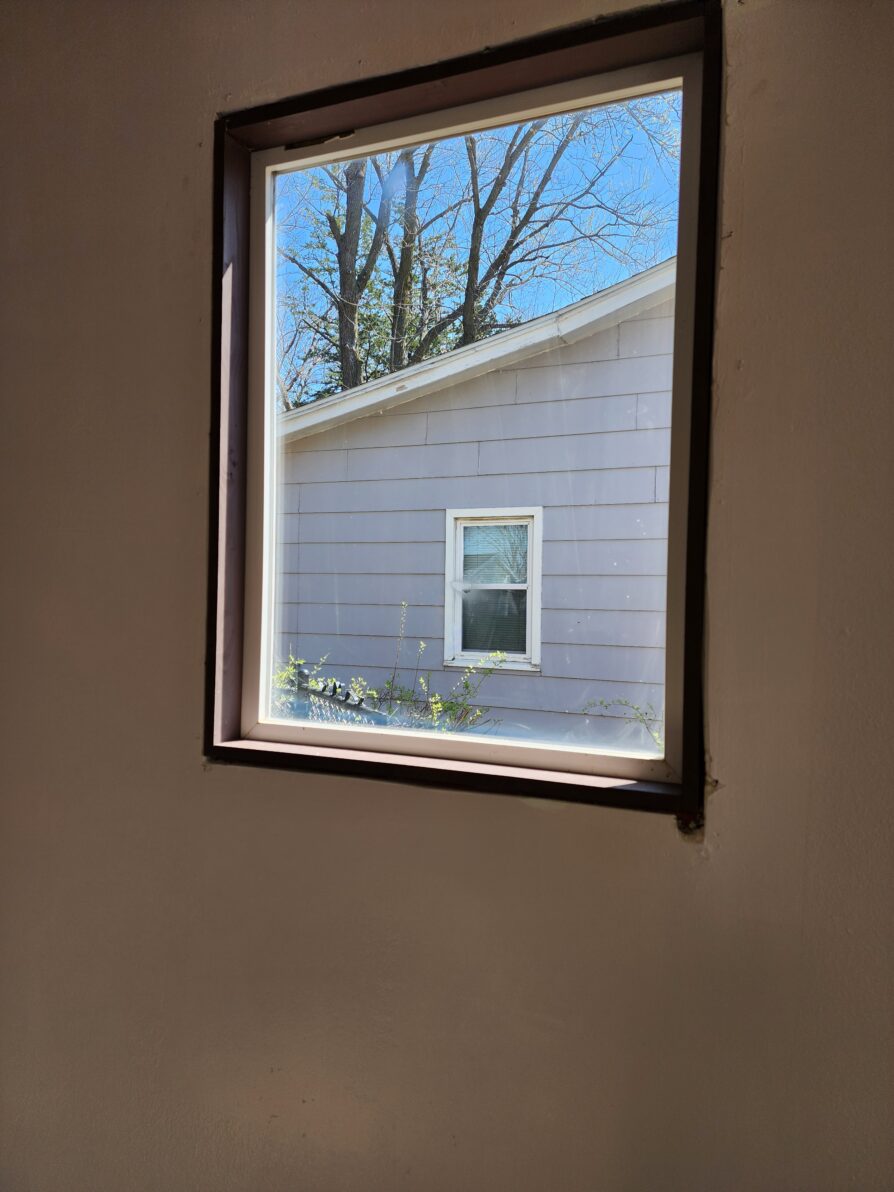
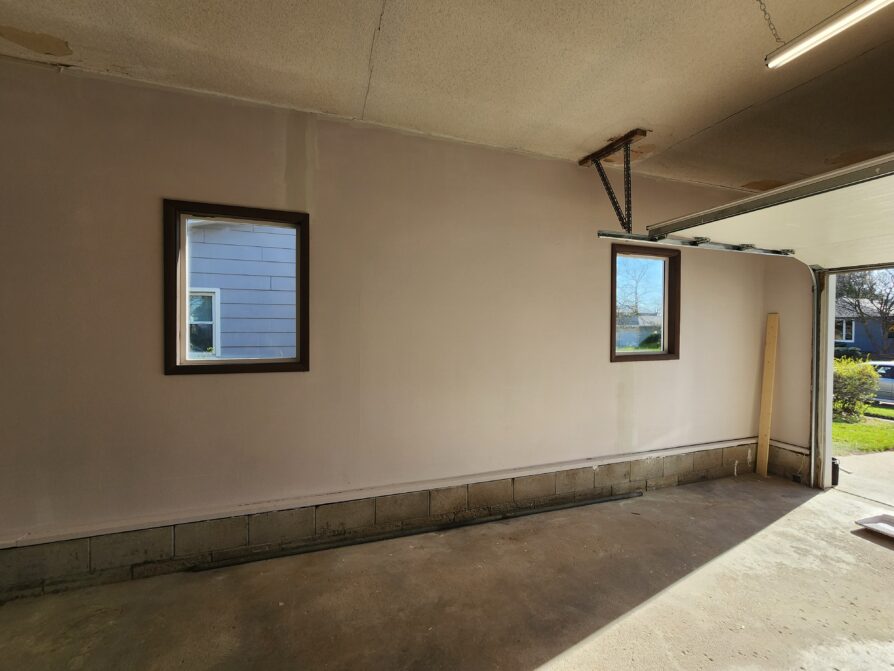
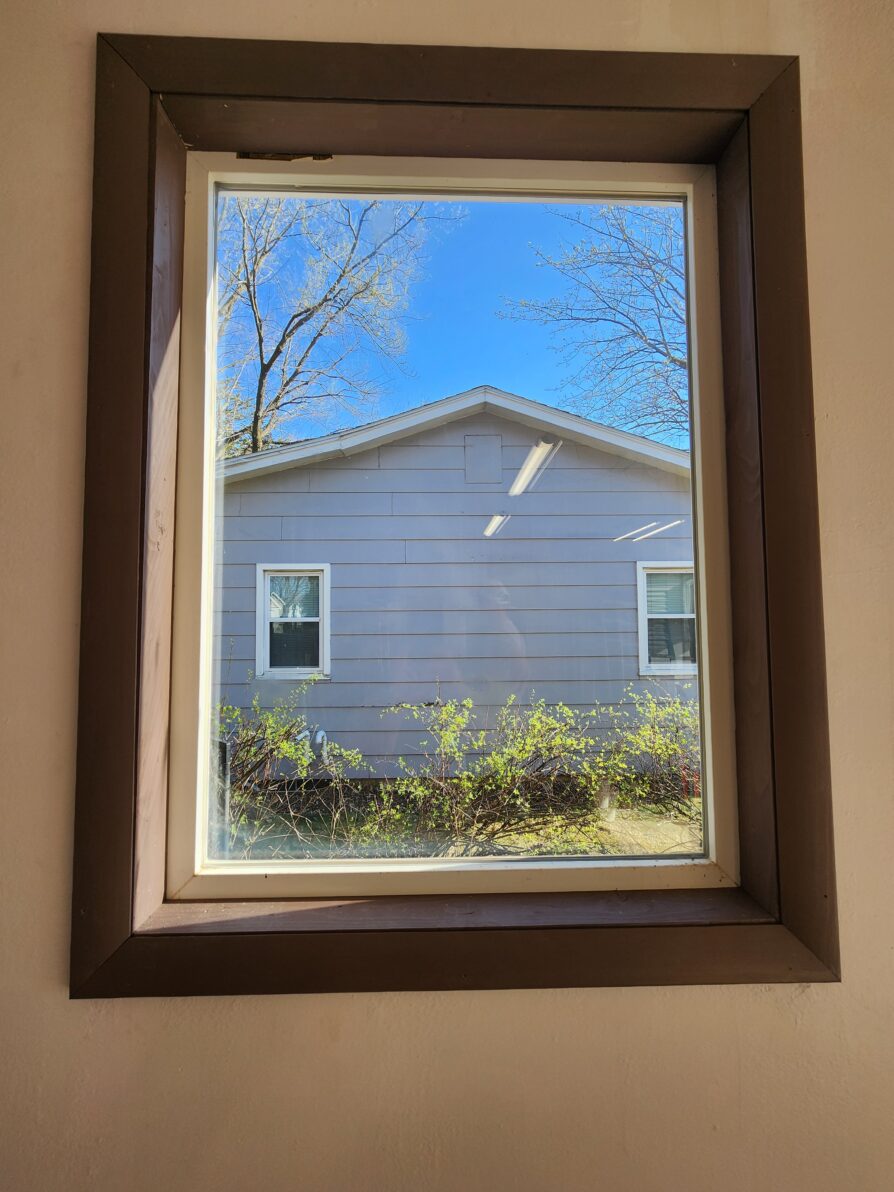
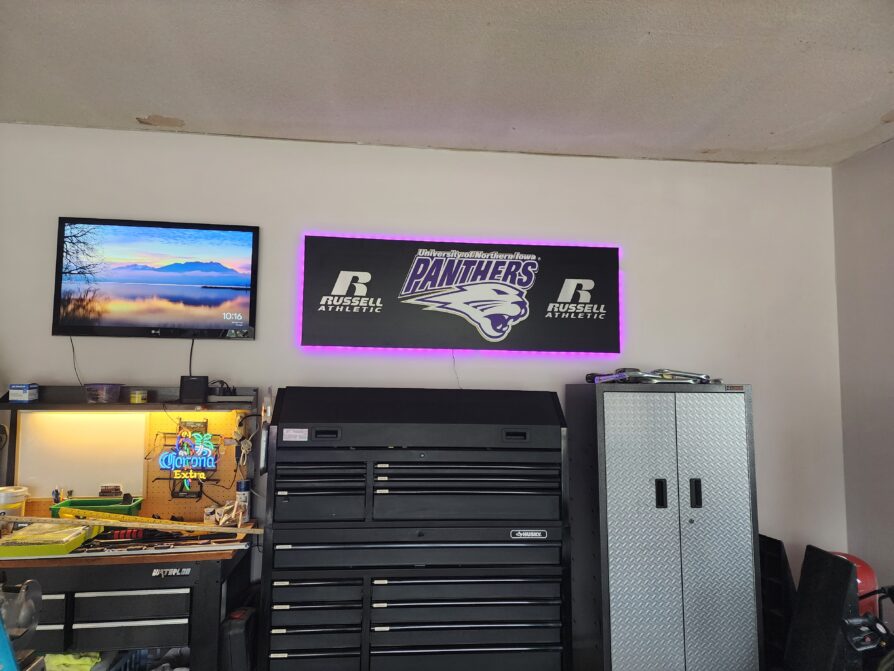
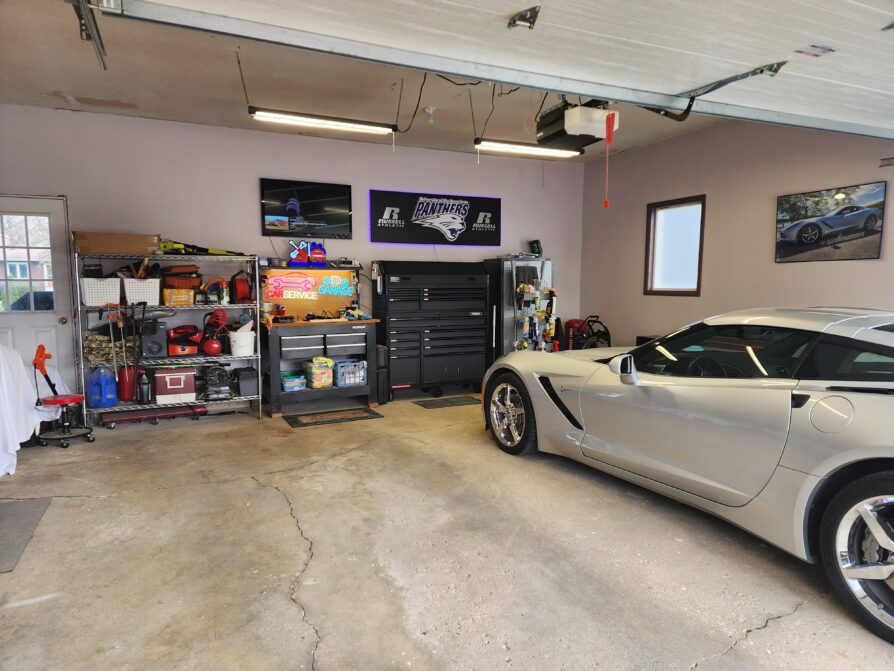
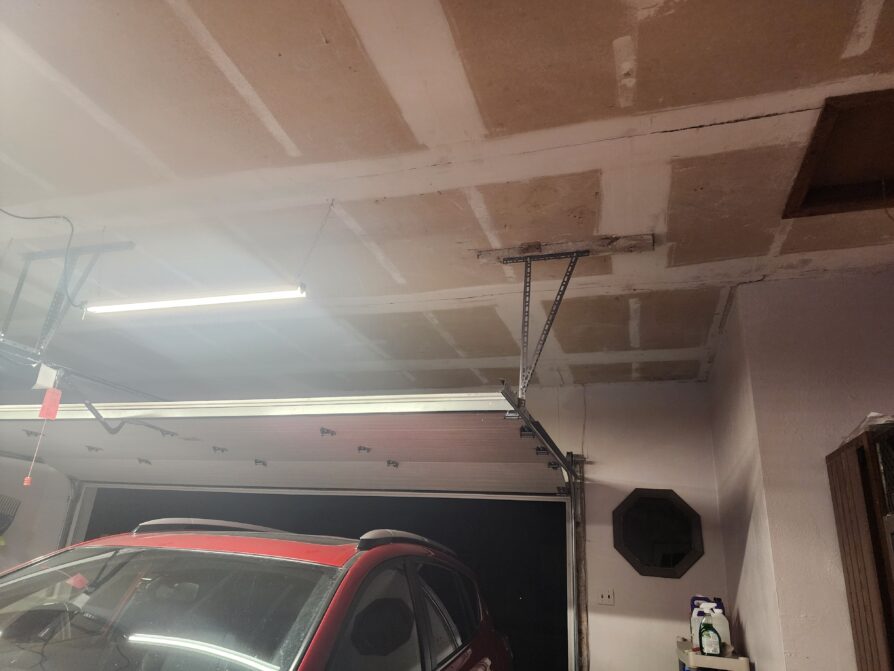
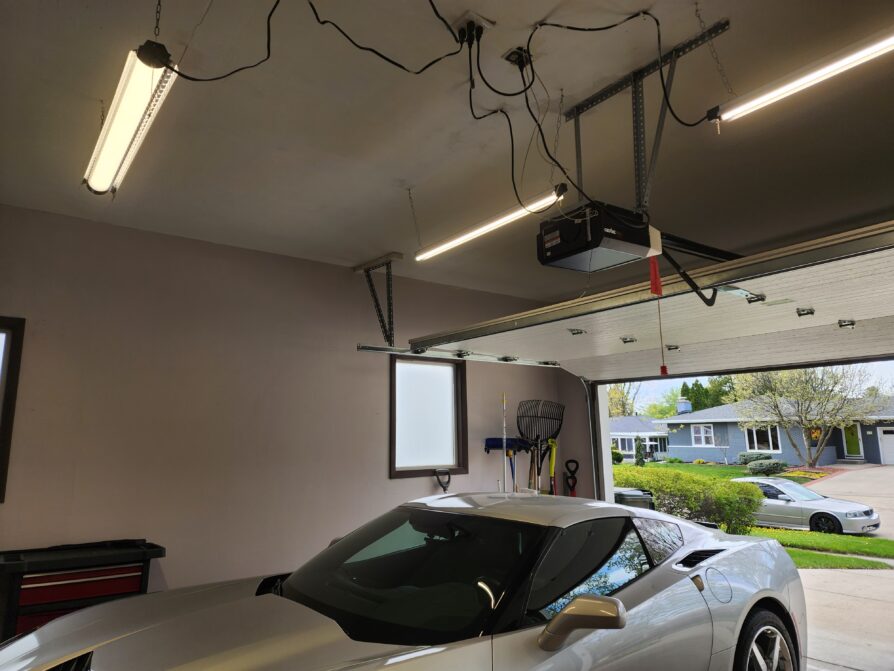
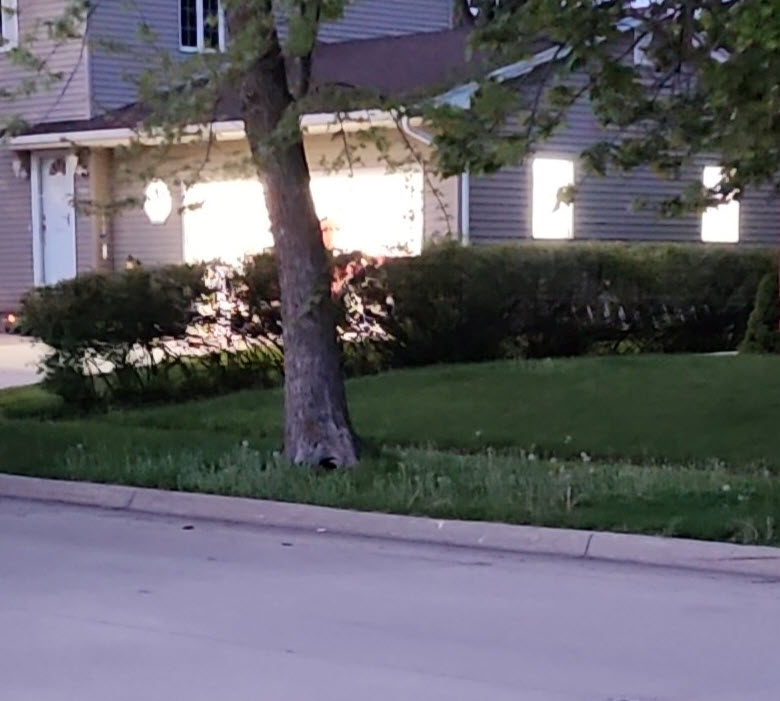
My garage was not terrible, as you can see below. There are just some details that need attention so I can have the garage I want aside from the floor. I just wanted to freshen things up to make it look like newer construction and simplify my wall displays with fewer individual pieces for a cleaner look. I also want to finish the windows so they look cleaner and allow more natural light into the garage to give the illusion of more space.
I performed a cleanup to eliminate unused clutter to make better use of the space since I do not have a shed for lawn care items. The only thing I am not going to address is the concrete slab because it is too cracked to waste money on a coating and too expensive to replace. I just won’t be able to rearrange the head wall very much because I like the setup and I don’t plan on changing the orientation of the workbench, tool chest, shelves, and cabinet.
The drywall had a few stress cracks and the corner tape was peeling away in two of four corners, so we decided to get some supplies and repair this damage. I had to buy plastic corner tape, Fibatape, hole patch kit, patching compound, hot mud, and various sanding sponges. To finish the windows, I bought 1×4’s to create a box and pine trim to surround it.
We worked for several hours smoothing out the problem areas in the walls. It was a lot of work getting things moved to the center of the garage so we could easily get around and work on the walls. I realized I still had too much junk lying around that I didn’t use, so I went through the second cleanup in 6 months and finally just tossed everything I could and told myself not to think twice about it. Two trips to the dump and a stop at the chemical waste drop-off got rid of a lot more and it was a good feeling. Stuff piles up over time.

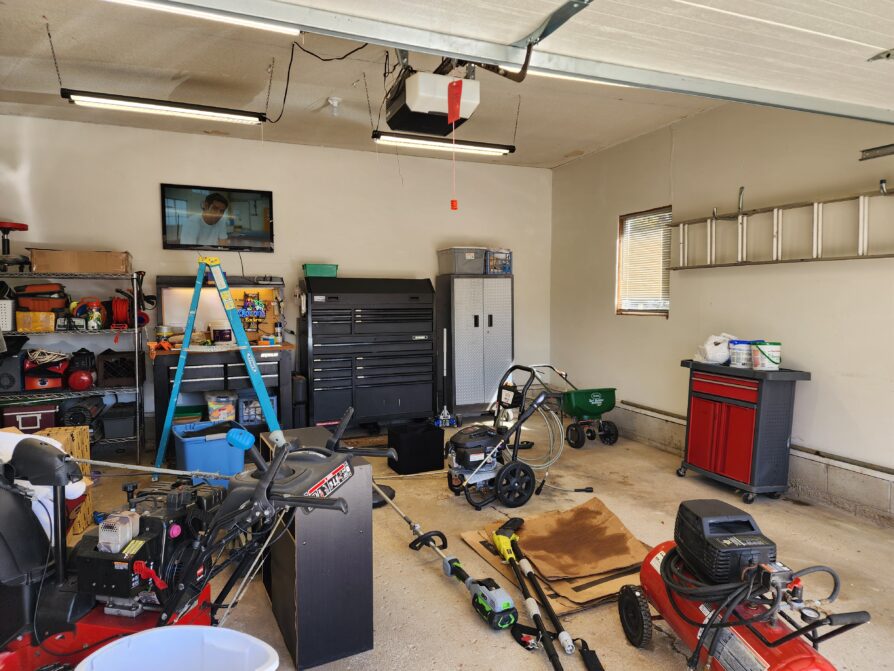
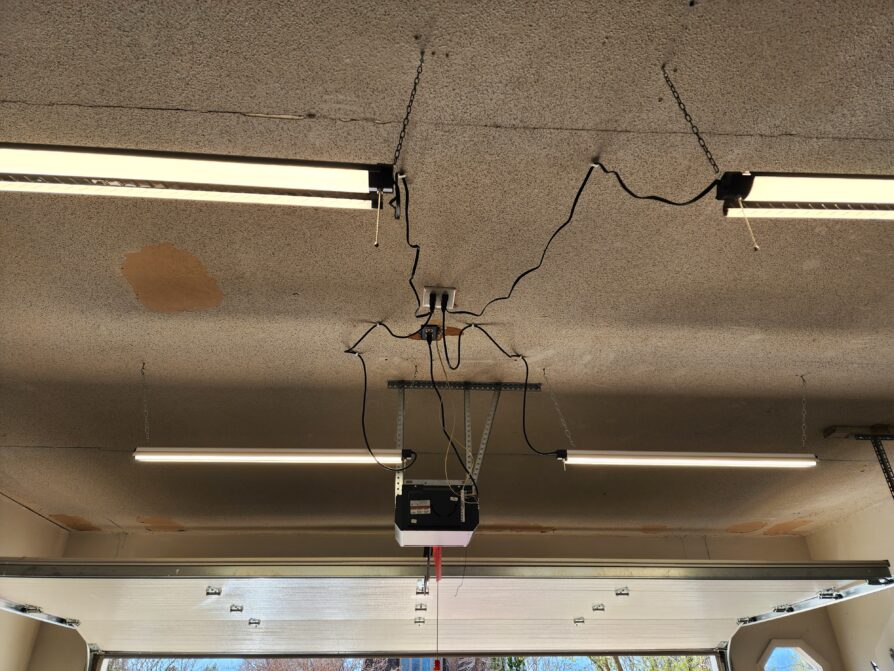
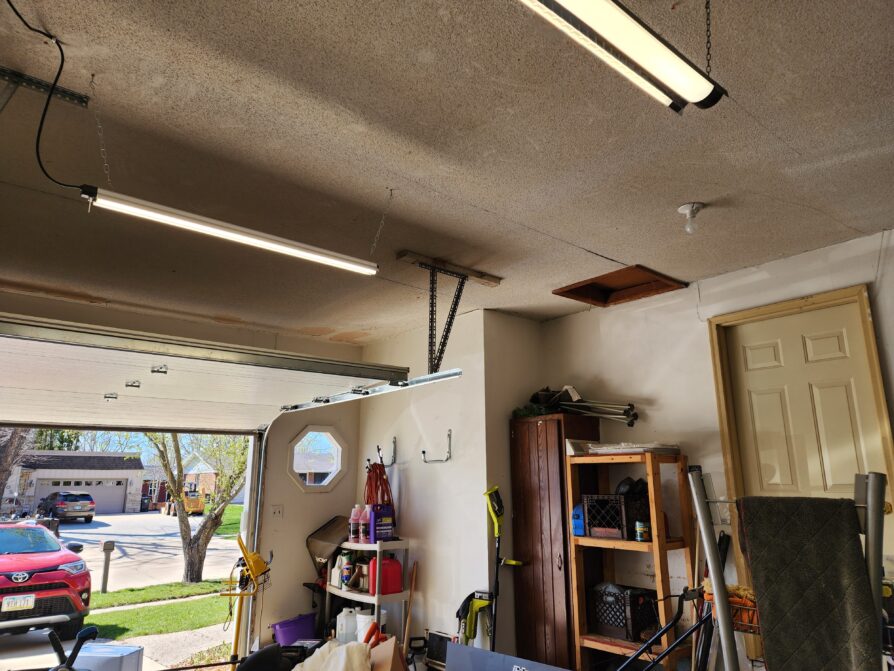

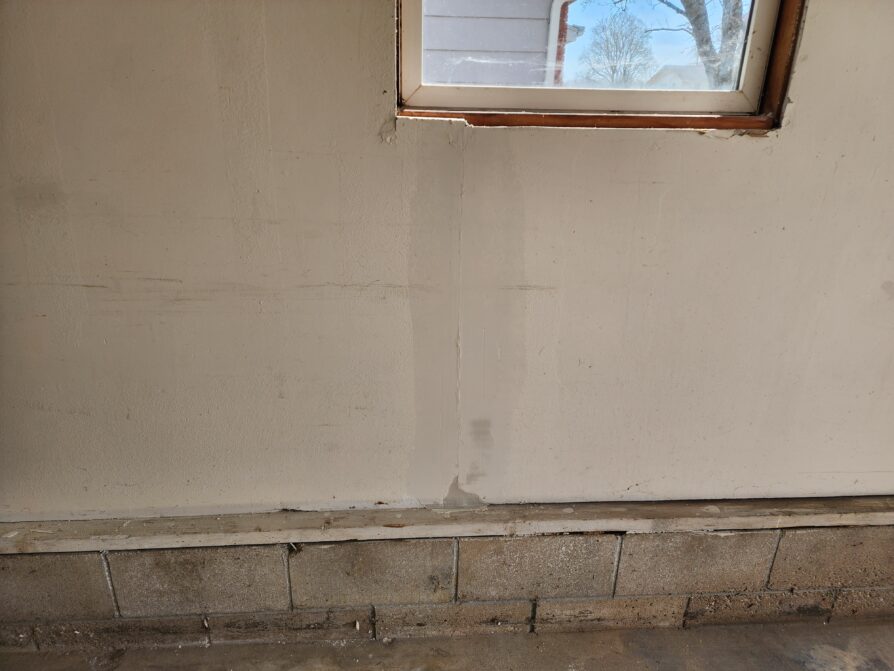
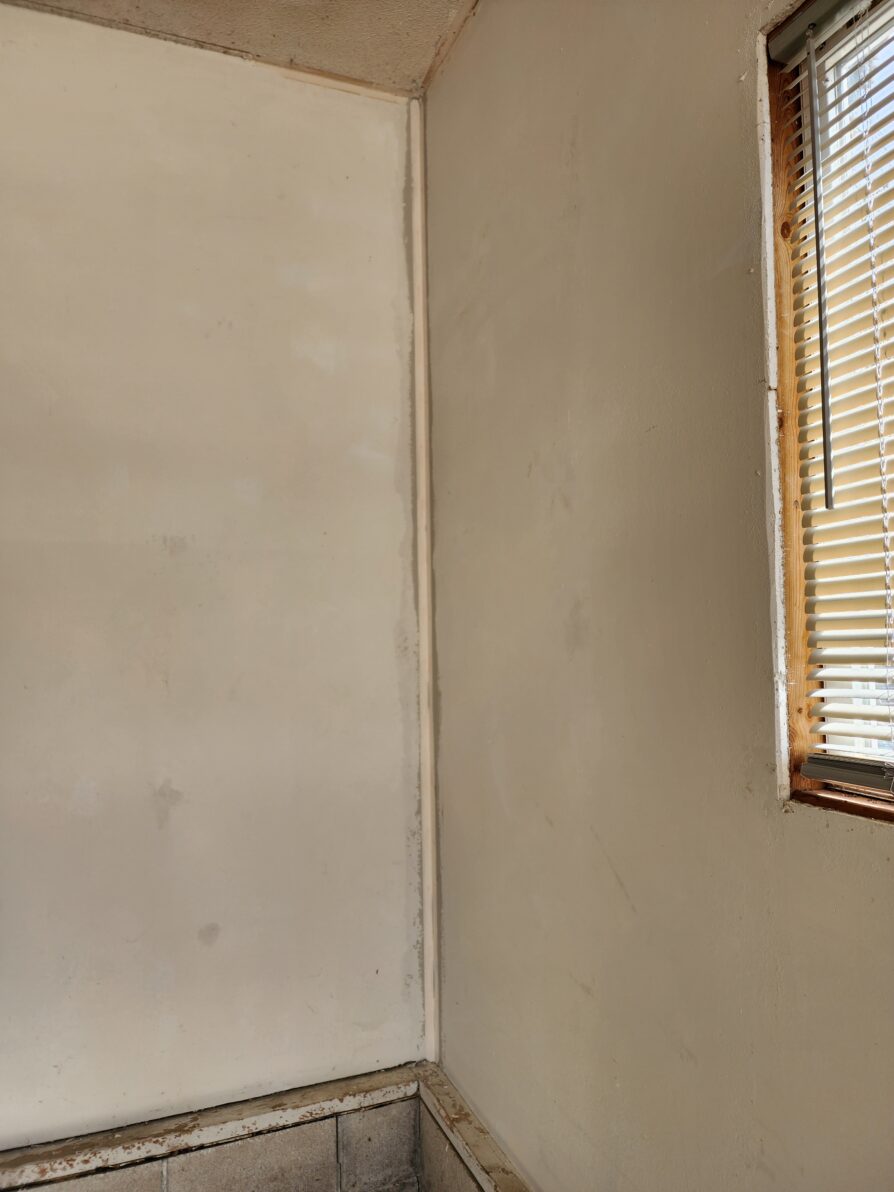
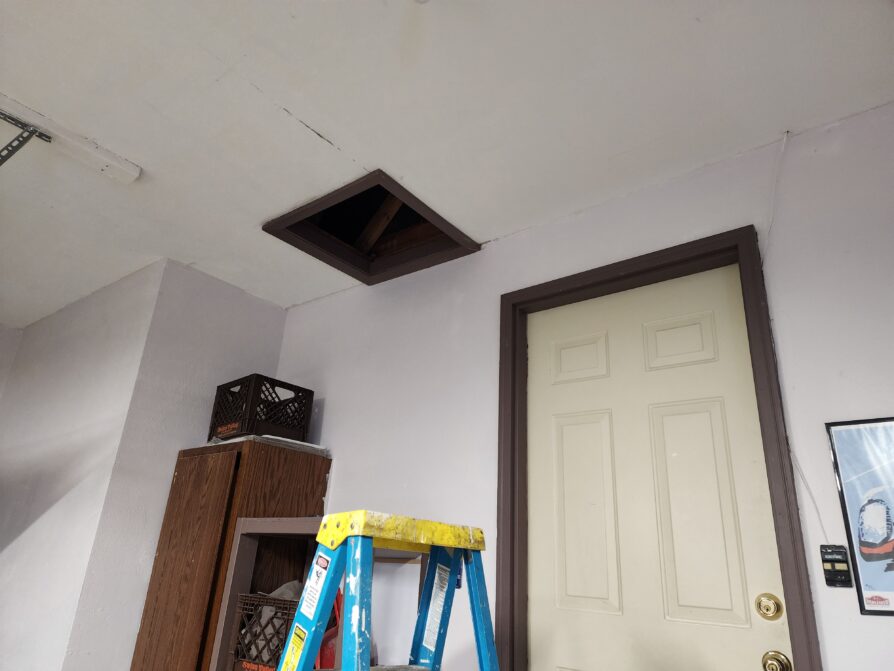
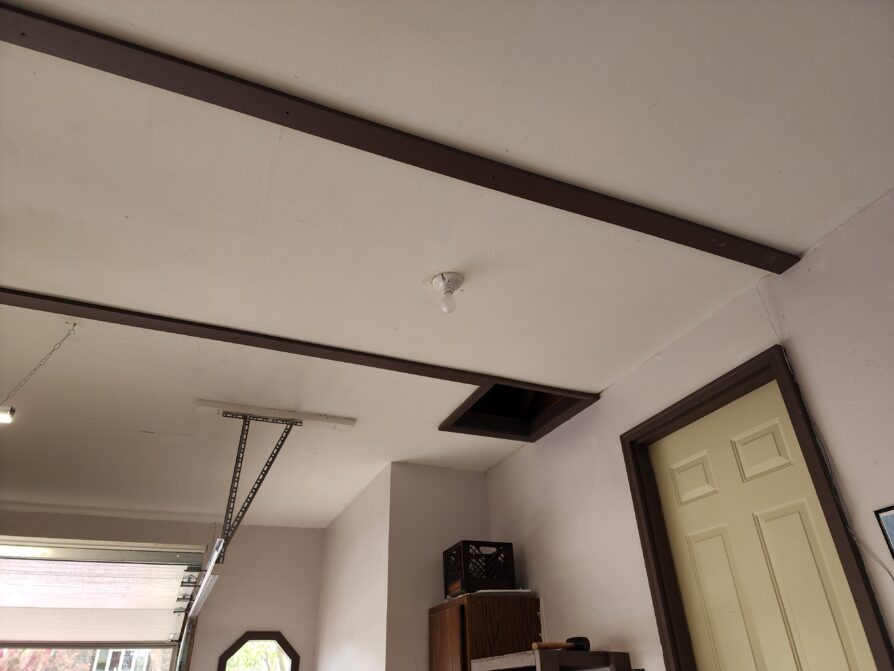
The pictures above show the areas that need attention. You can see that the walls and ceiling need some attention with cracks in various places.
On day two, we patched all walls and used fiber tape to repair some vertical cracks that appeared from the old tape coming away from the wall, especially in two corners. For that, we used plastic/mesh tape that did a nice job of creating sharp corners. I was able to prime the walls, but I will need to wait for priming corners until the mud completely dries.
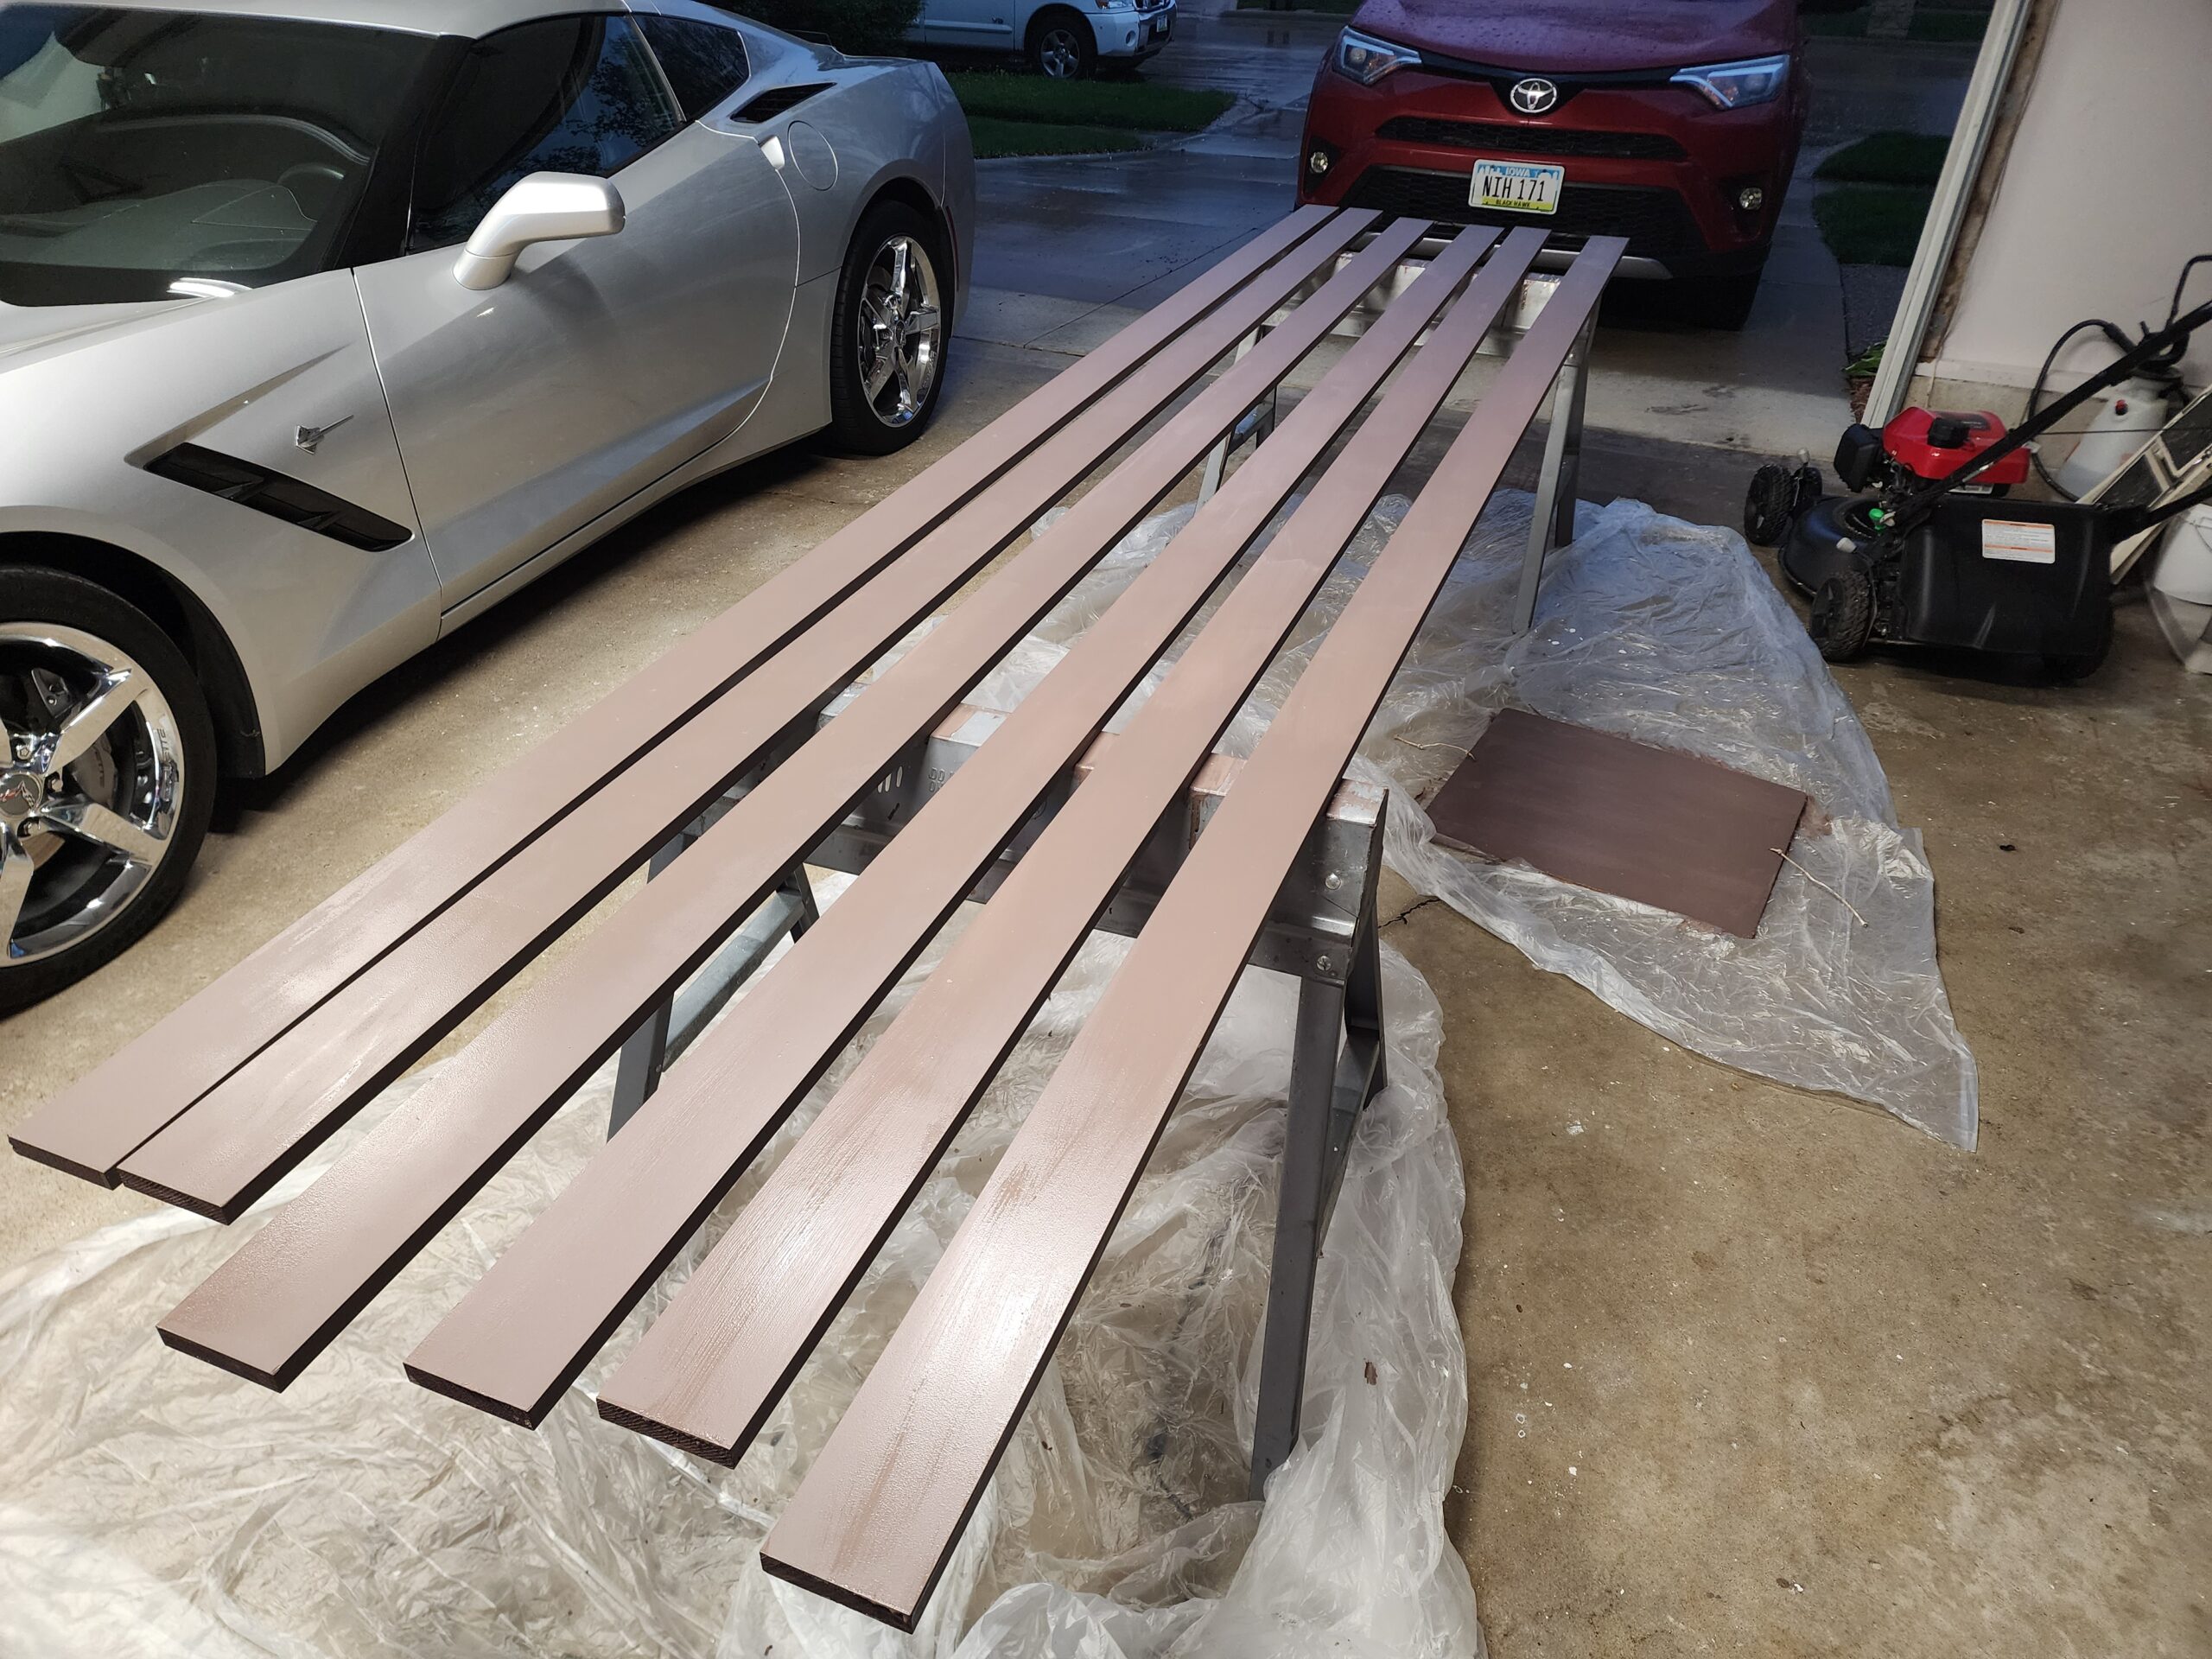
To finish the windows, I bought 1x4s and pine trim to make them look complete. We painted the box and trim pieces in Eagle Eye, a complementary Dupont color to the Silver Screen gray I chose for the walls. Gray helps hide imperfections and I like a nice, bright wall to reflect light and make the garage feel bigger. The Silver Screen had a slight pinkish hue that had to grow on me. It looked a lot different on the walls compared to the sample.


To finish phase 1, I finished painting the walls completely and added a frost film to the windows since I didn’t like people being able to see into the garage. I had blinds before, but it was suggested that film would be a neater choice since I can get natural light and still have privacy.
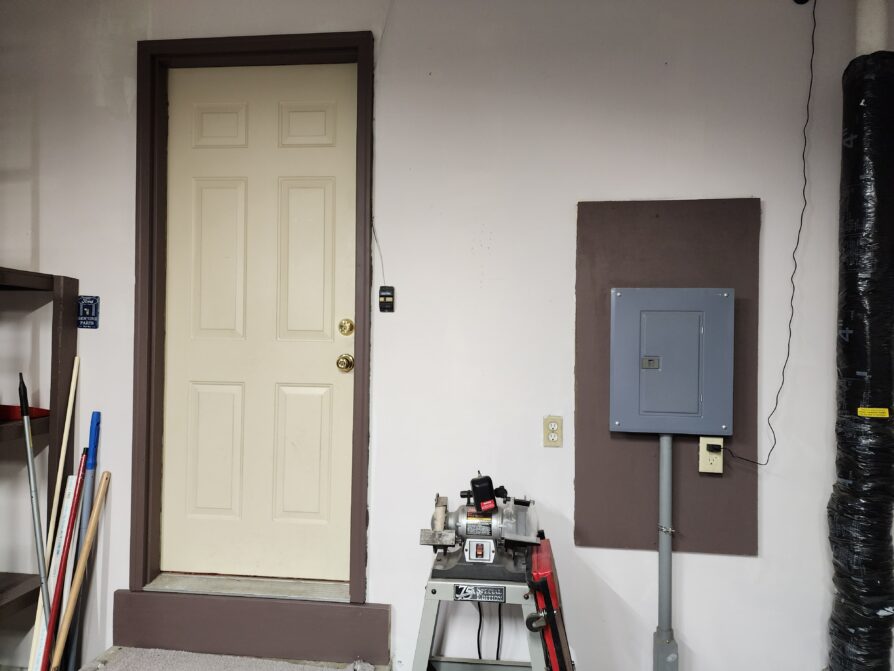
Here are a few final revisions to Phase 1. There is still some cleanup to do on edging and a final color coat left. I trimmed the door with the same accent color and installed a 2×8 to cover the damaged drywall riser. I will paint the door during phase 2 since the smoker’s yellow doesn’t look that great with the color scheme.
Cost:
Paint $68
Primer $50
Drywall supplies $60
Wood for windows $175
Misc painting and other supplies $100
Rubbermaid Garden tool organizer and a metal shelf for detailing equipment $47
LED lighting for Panthers sign going above tool chest $10
Total: $510
Time Spent: 18 hours
The pictures below show the walls with a final color coat and things somewhat moved into their final places before they get moved again for Phase 2. I have yet to fix the tape at the ceiling perimeter I also applied a frosted film to the windows to let in natural light while giving some privacy. Things are where I want them, but I am unsure why I put things back together before Phase 2 starts.

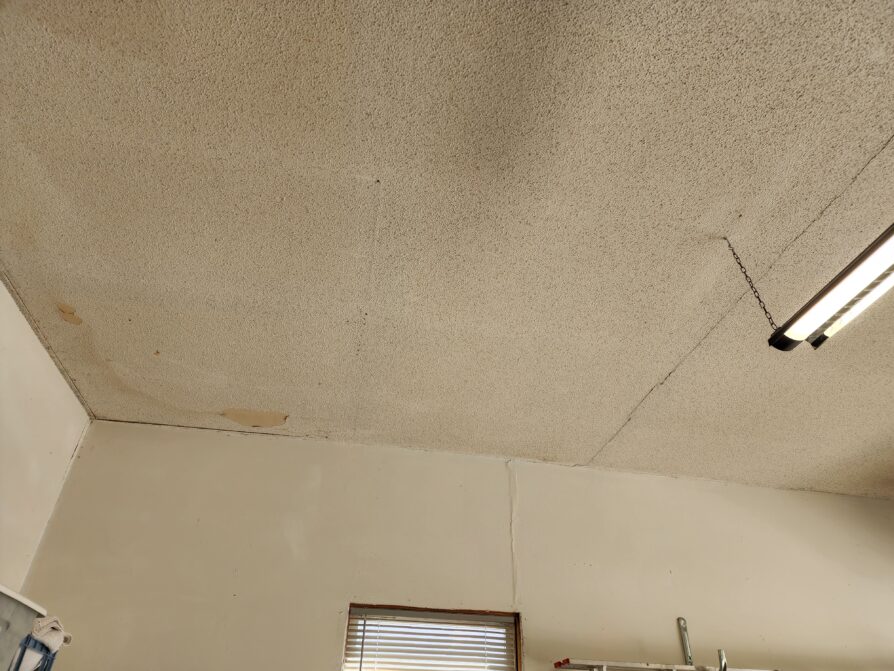
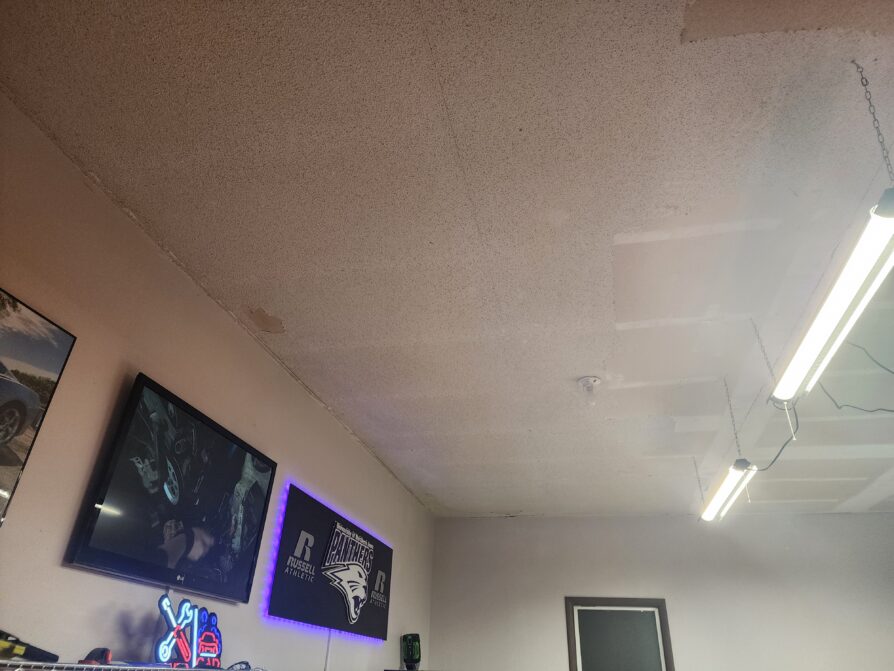
The dry-walled ceiling has popcorn that is falling off in sheets and it is time to do something about it before it starts falling on the Corvette. I had planned on using 4×8 sheets of thin paneling, but when I figured out the cost and the difficulty for an amateur, I decided I would be better off just giving the ceiling the same repair treatment that the walls received for the most part. I plan on wetting the sections I am scraping and attacking the ceiling in quarters so I don’t create a ton of mess all at once. The scraper has a bag attachment allowing clumps as they fall, which will be nice as long as they make it into a bag. You can see the progress below and the massive cracks that need to be covered with faux beams. That would be much easier and faster than taping and mudding.
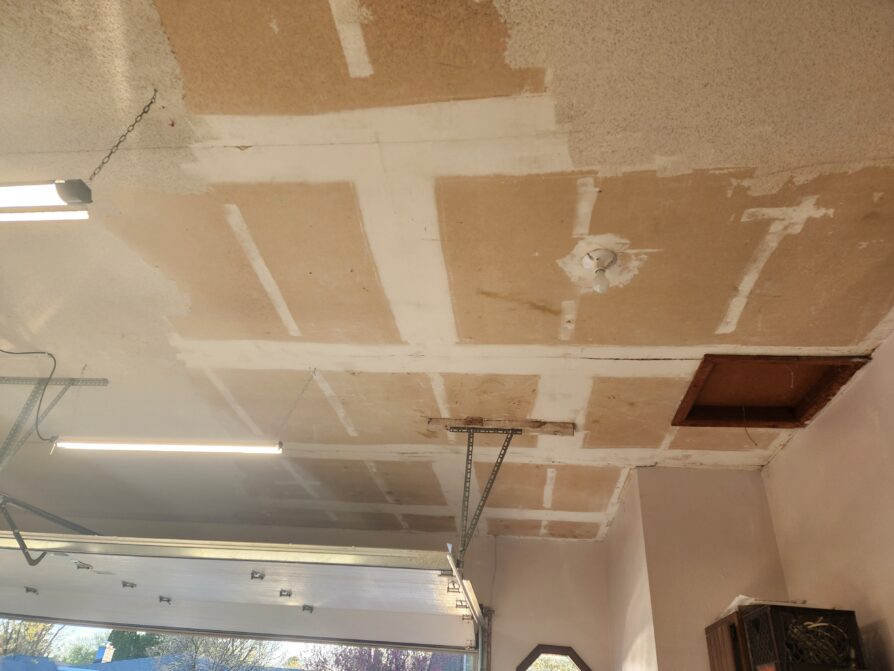
The texture came off like butter after wetting it with a spray bottle. The big scraper was a pain, so I used a 6-inch putty knife many times up and down a ladder. This took me about three hours including cleanup. It was a 5-gallon bucket full of old paint and texture after I swept it all up and rinsed out the garage. That’s something I don’t want to do again.
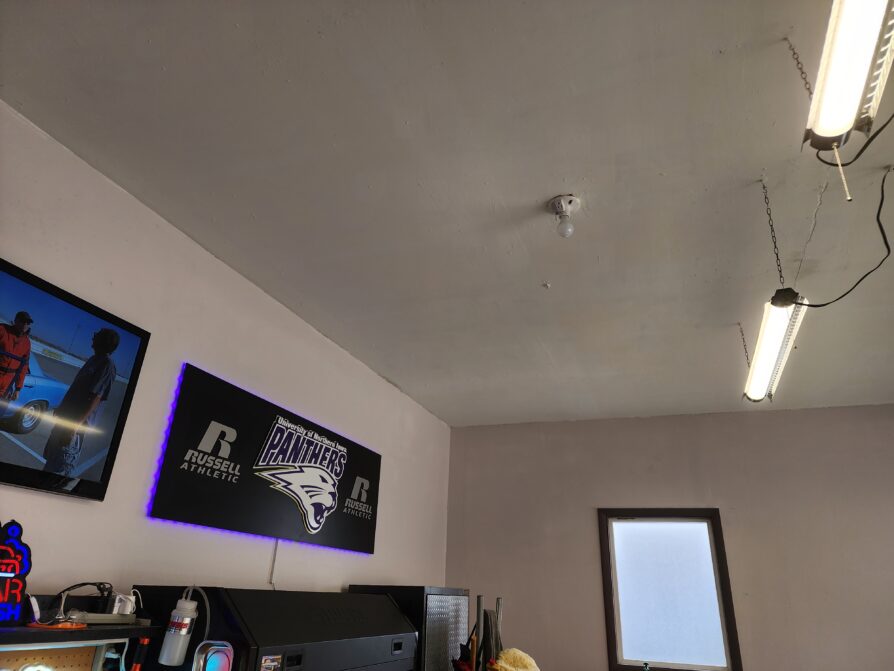
The next step was applying primer. I started at the headwall and worked back to the garage door. I was using a 4-foot extension and that proved to be a futile practice because I was sore and I was not getting good application. I was defeated after two hours and was almost ready to get it done. The next day, I regained my drive and borrowed a long, sturdy pole to continue. That made all the difference. I coated the rest of the ceiling in about forty minutes!
Next, I applied the flat white ceiling paint. I bought the tinted kind so you can tell where you have been before it dries white. That worked well because it was hard to tell with white primer already applied. The first coat took me a couple of hours and the second was just a little faster.
The next step was to trim the falling tape from the ceiling around the entire perimeter and make any repairs. This was a last-minute thought, hence out of order, but I wanted to fix it without having to use 1×2 crown. I used a straight edge and a utility knife to cleanly trim the sagging tape and then used spray adhesive on any areas where it was peeling from the ceiling. Once that was all done, I had to touch up the walls with a paint trim blade and brush since this was an afterthought.
I painted the 1×4 beams to match the accent color on the window frames, door frame, stair riser, and overhead hatch to the crawl space. It didn’t take too long with a 3-inch roller, so I was thankful for that. Once they dried, Tom and I installed the beams using drywall screws on each joist to make sure it would be secure. The shop lights will hide the screw heads, so I wasn’t too worried about that.
The beams were installed the next day, covering the cracks and giving a place to mount the 16-foot LED lights.
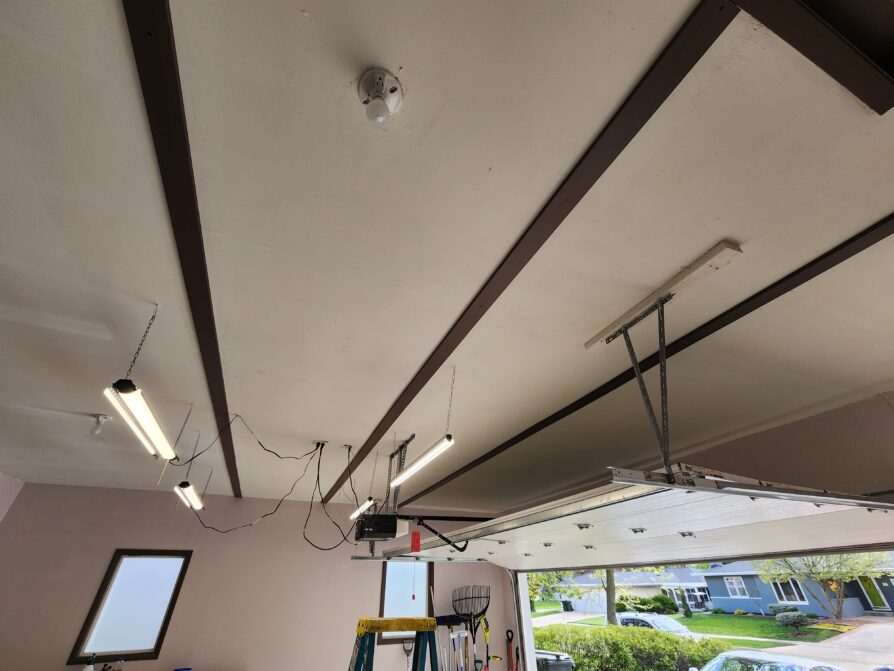
The old shop lights and light sockets remain in place until the surface mount lights are attached to the new beams.
Cost:
Paint $30
Primer $50
Popcorn scraper $20
Misc supplies (spray adhesive, ceiling roller, skimming blade, plastic, caulk, etc) $70
1×4 primed pine 12-foot sections $100
Total: $270
Time Spent: 12 hours
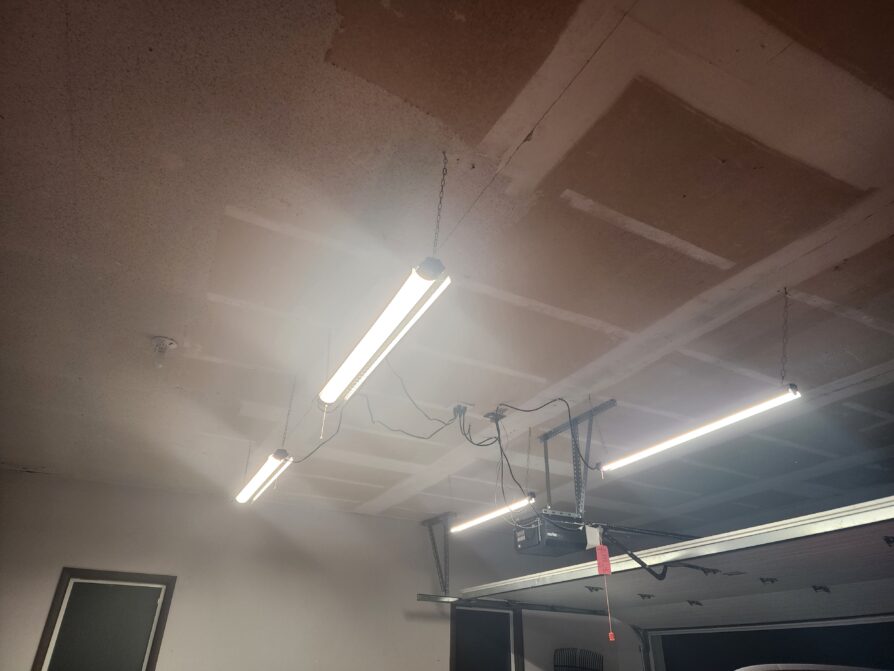
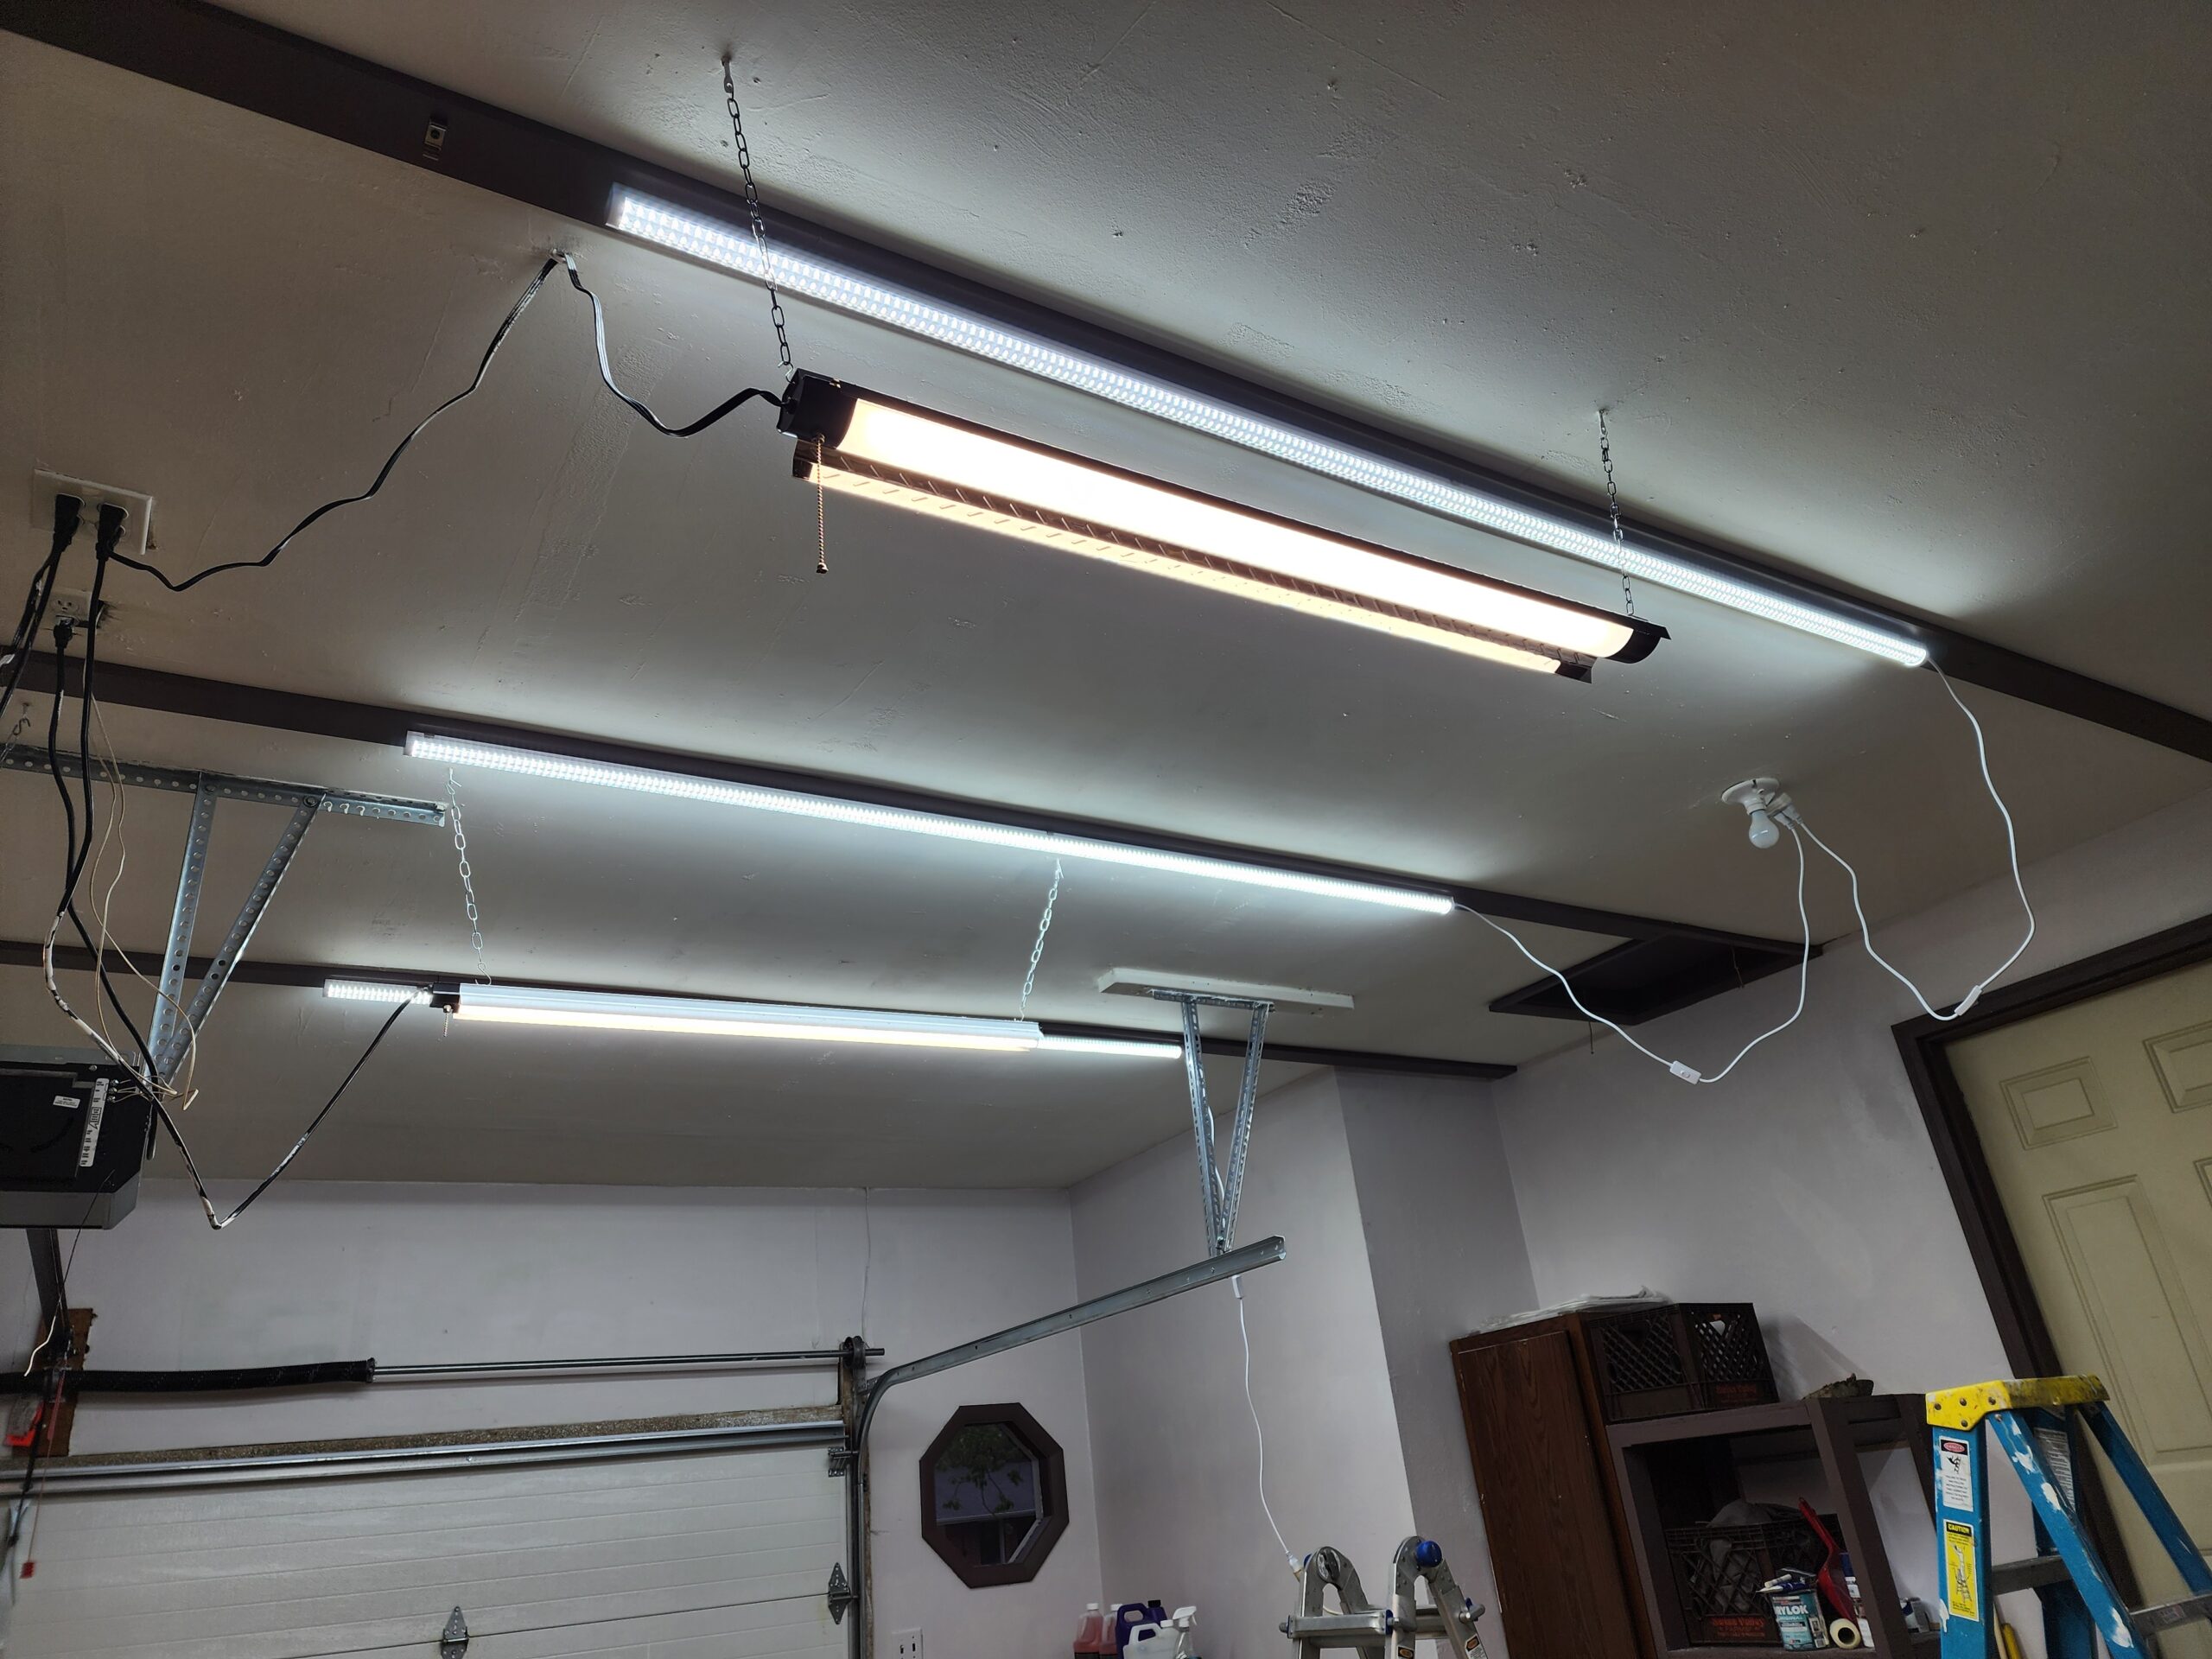
Once the ceiling was completed, I decided to change out the four 4′ shop lights (seen in earlier pictures) that were individually run to a 2 gang box in the ceiling. I didn’t want cords hanging or stapled to the ceiling, so I went with a 6 pack of 8-foot 20,000-lumen lights on Amazon that can be hard-wired. They are 6500K clear white, which makes my shop look like an operating room. They were reasonably priced, but I was concerned about getting a replacement if one burned out. Since they are LED, you wouldn’t think they would, but I might get a few extras.
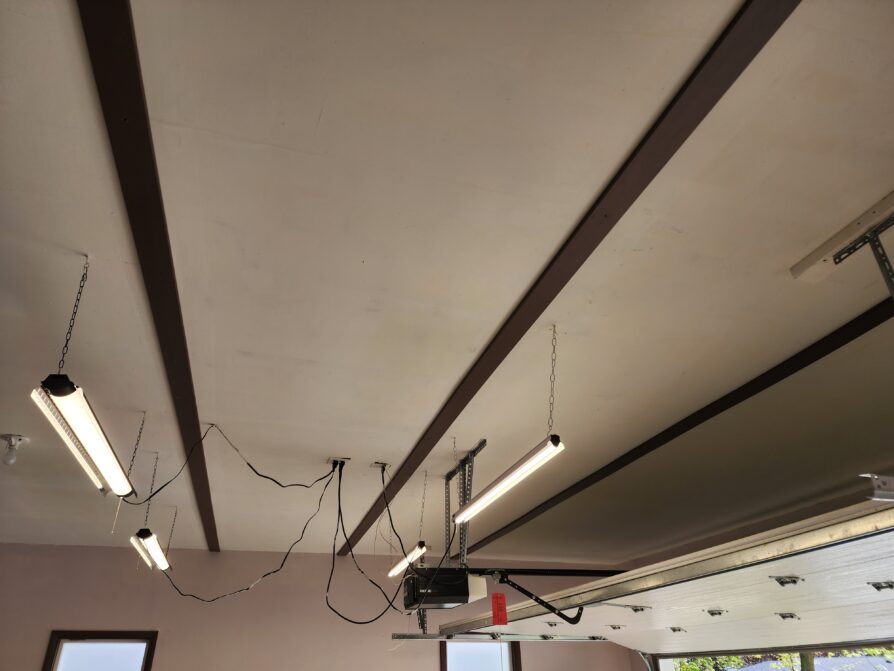
The cracks in the ceiling dictated where the beams were going and this also gave me a perfect place to mount the lights in a straight line. I connected each pair to make a sixteen-foot section so I would only have to wire three to a junction box. I liked this arrangement better than having lights dangling from chains with unsightly wires going to a shared outlet.
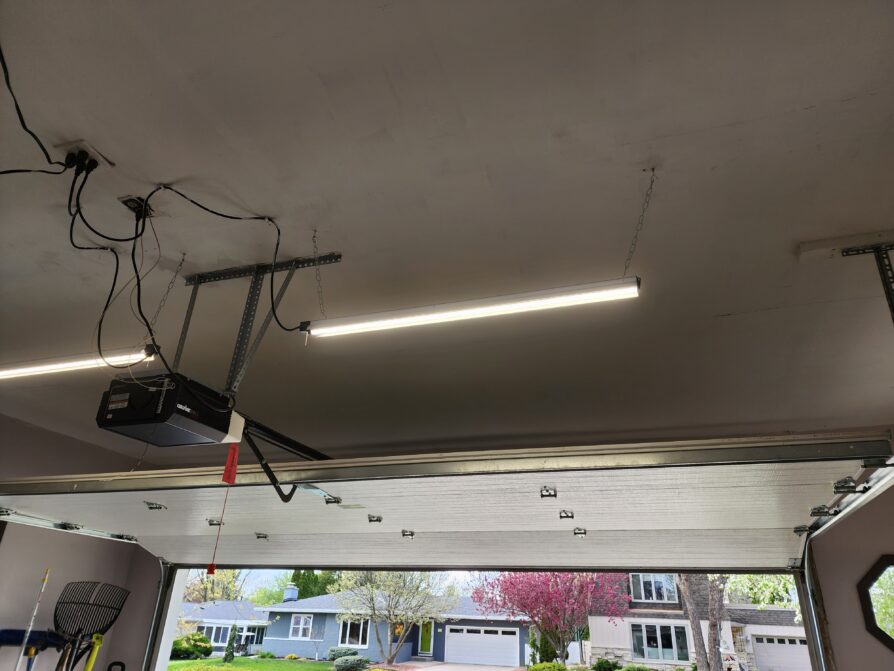
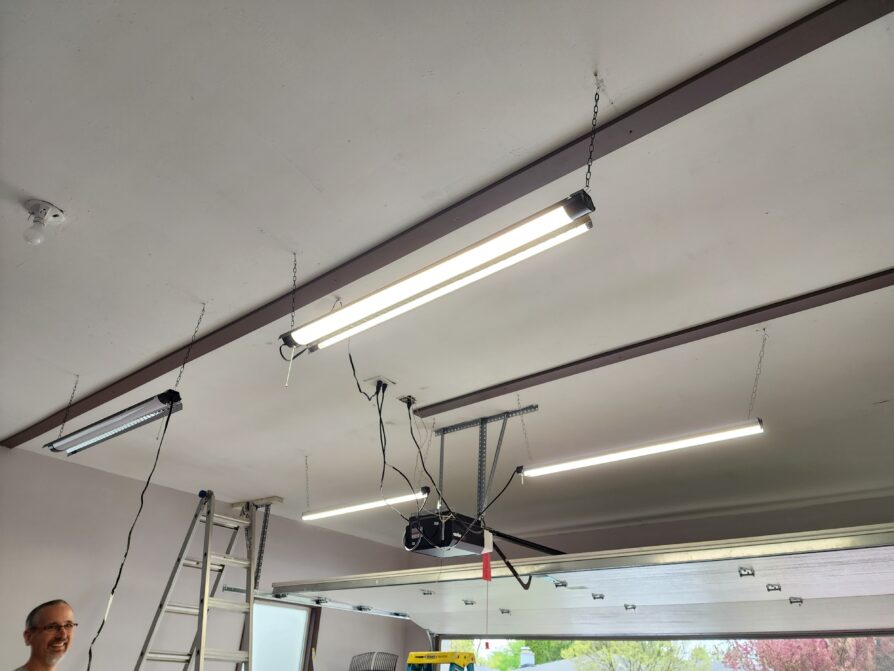
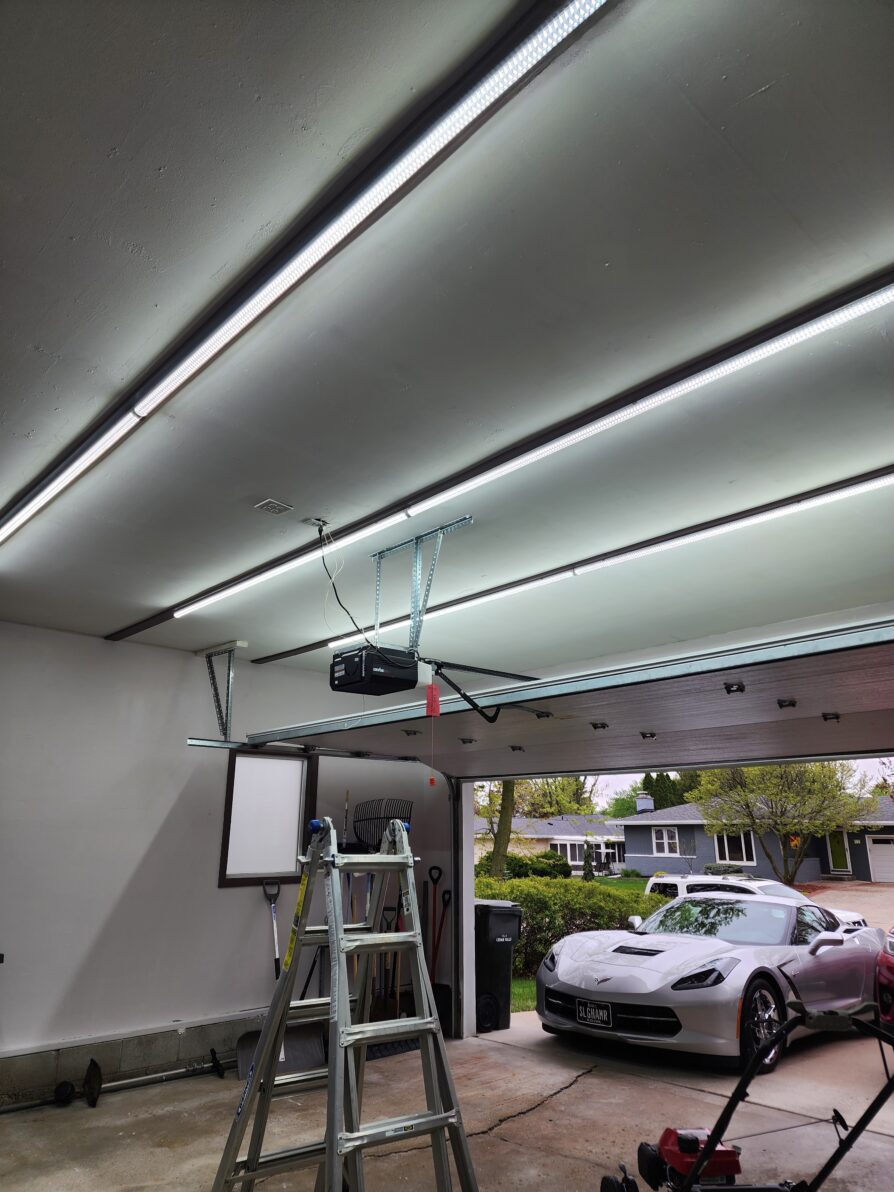
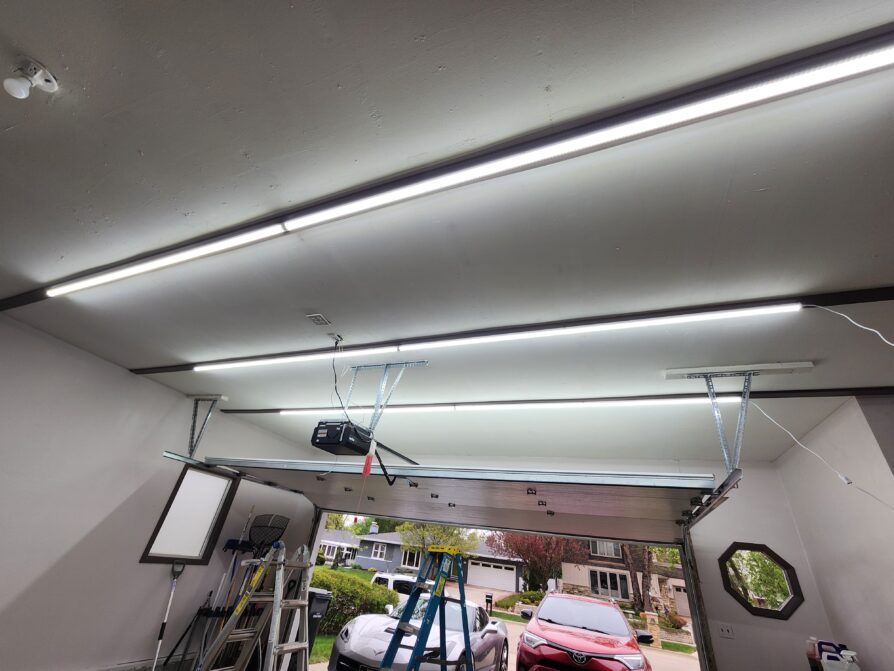
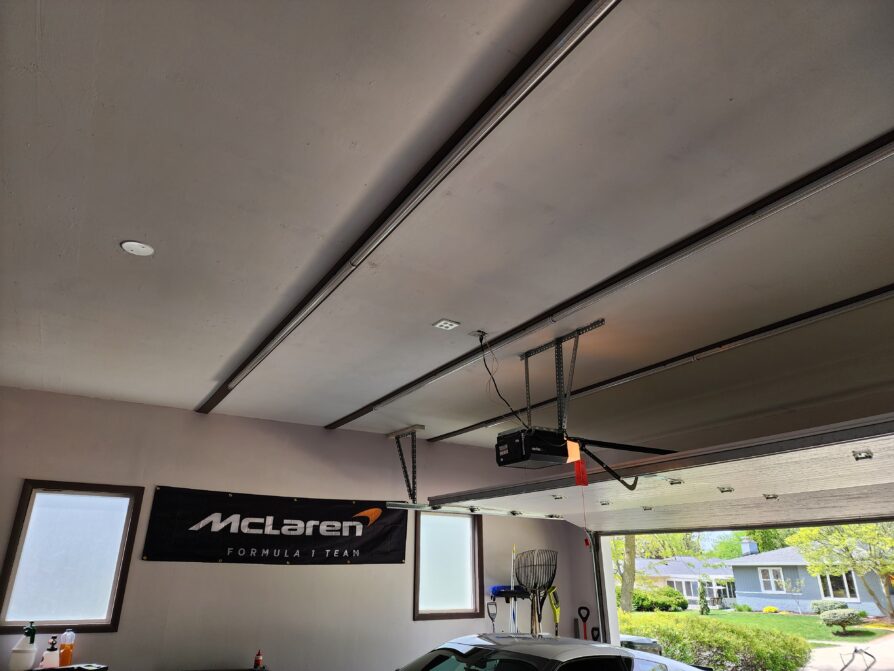
The shots below are one-half of the garage outfitted with the lights. The chain-hung lights remain for now. I am powering the LEDs from a light socket outlet to test.
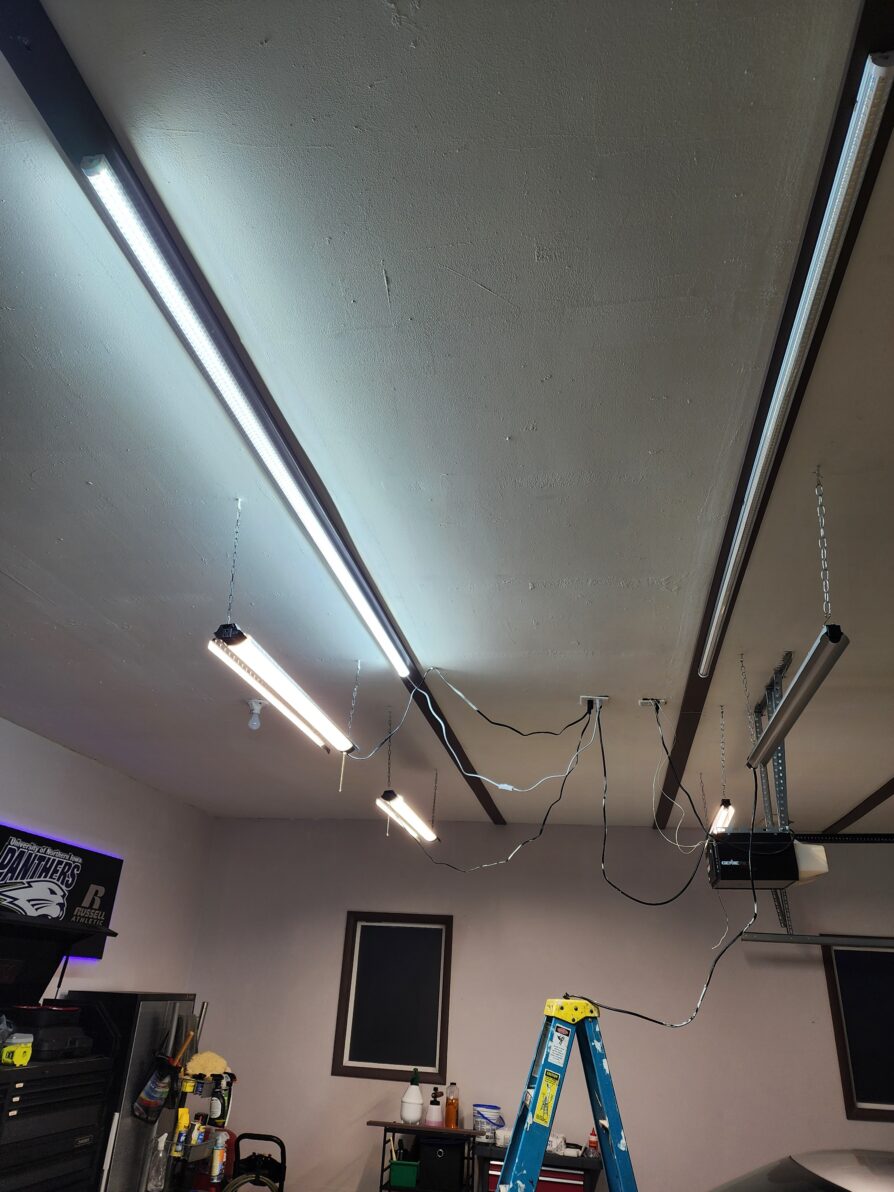
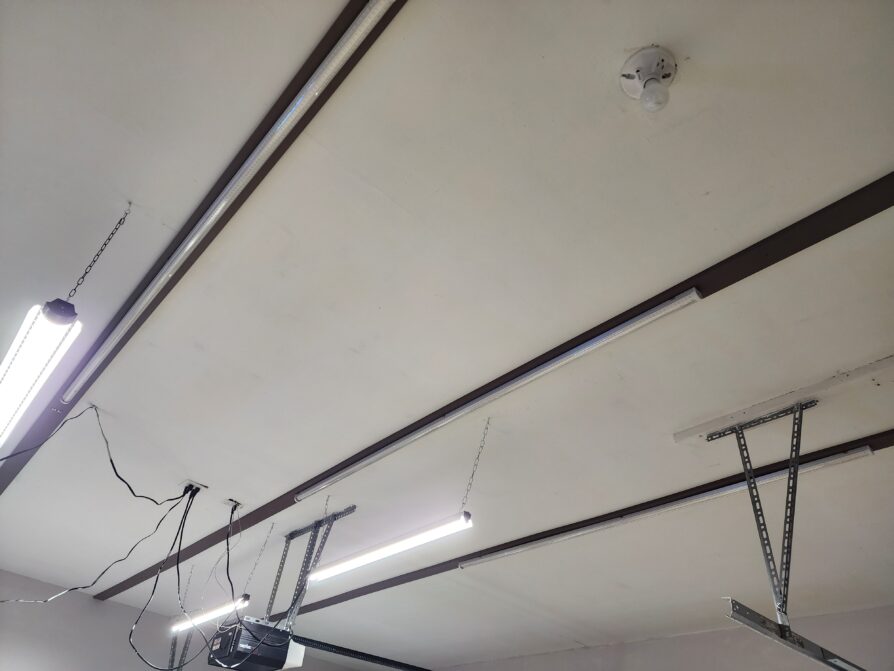
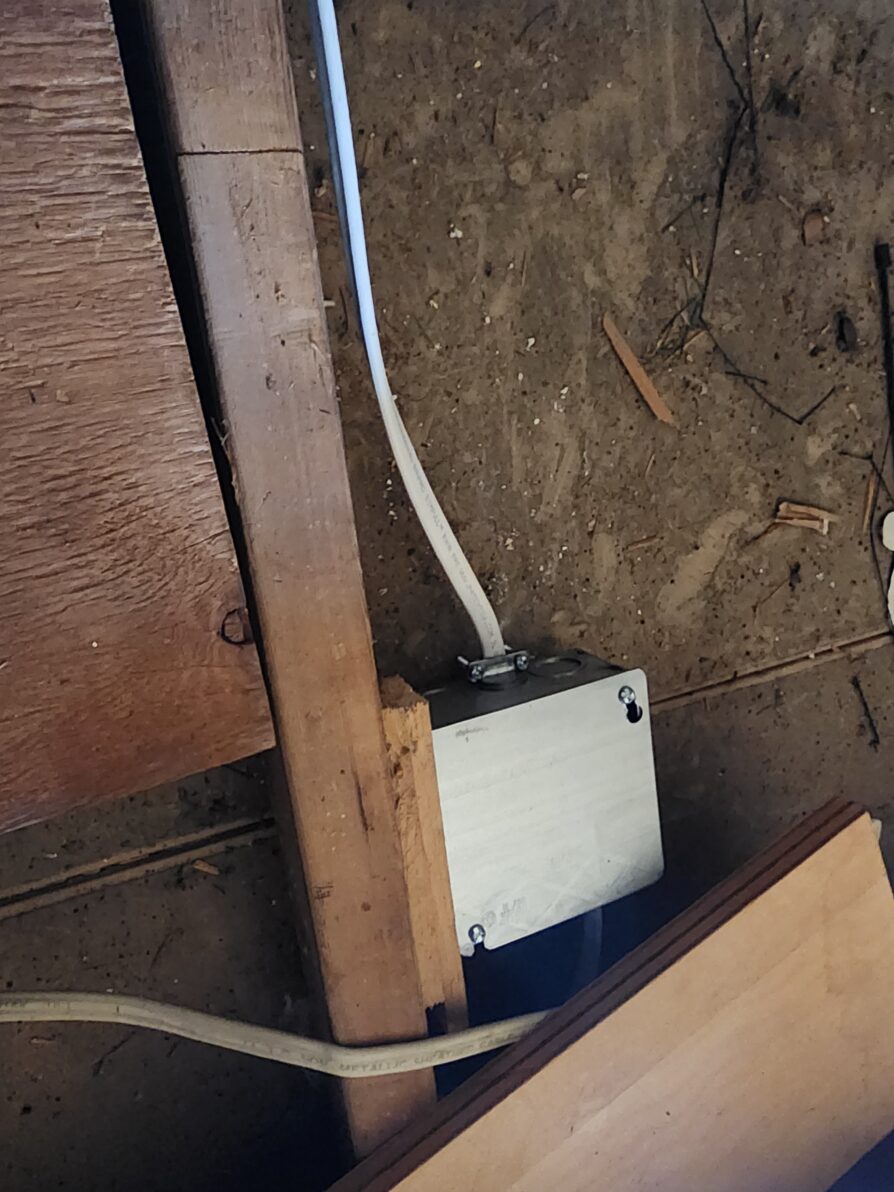
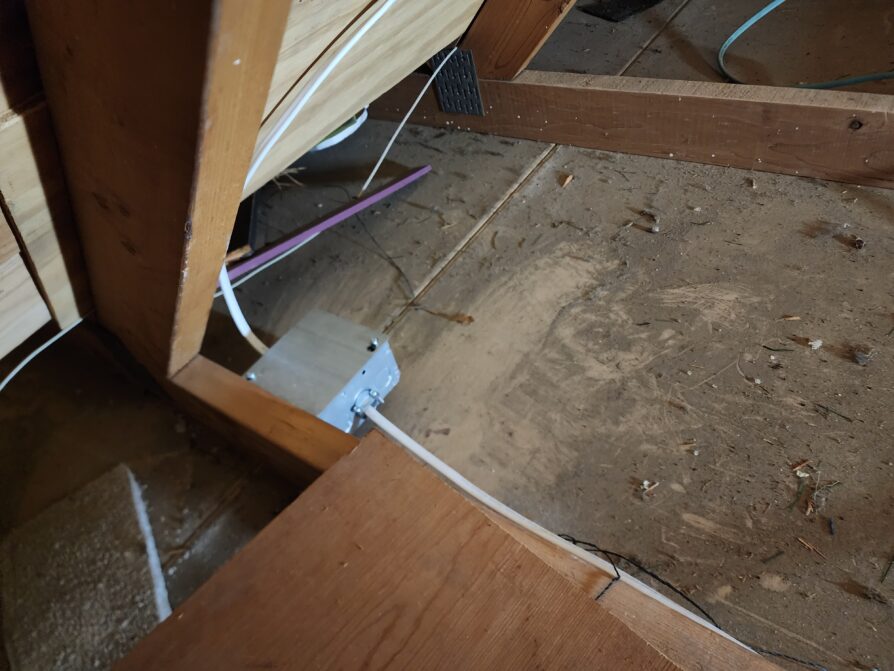
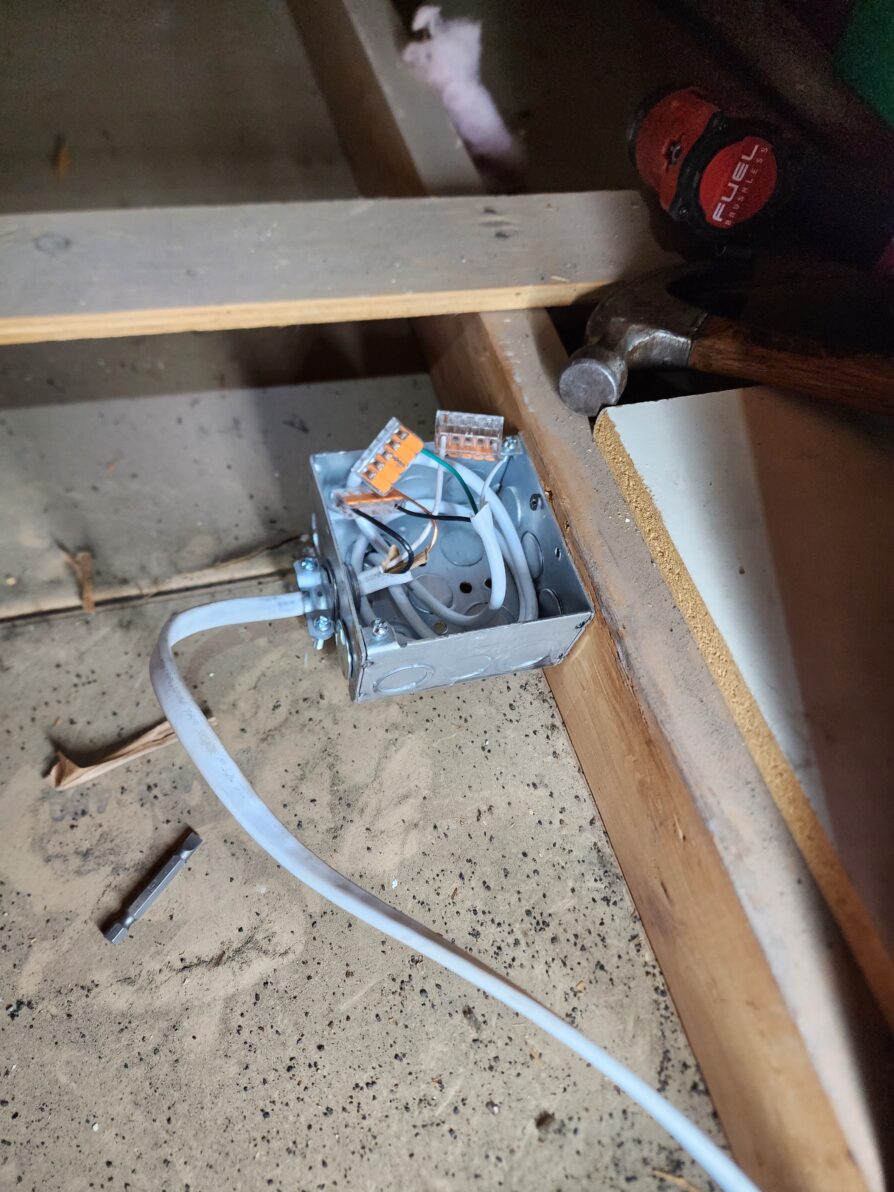
To hardwire the lights, we used junction boxes at each light location and daisy chained them off an existing junction box in the attic space. I drilled a hole in the faux beam the light is attached to and ran the hardwire cable from the light through the hole and into the attic.
The shots below are just before we wired the lights in the attic.
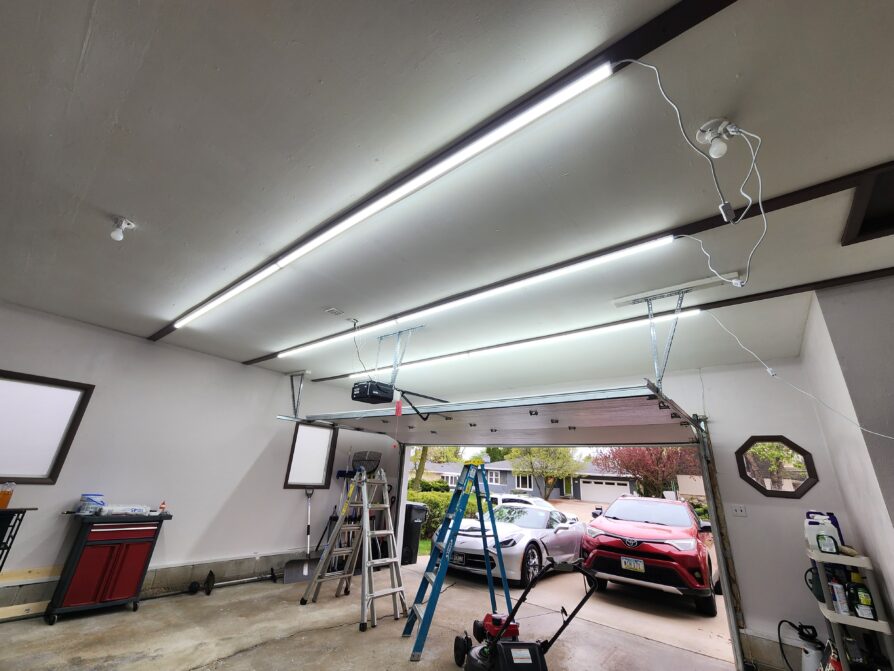

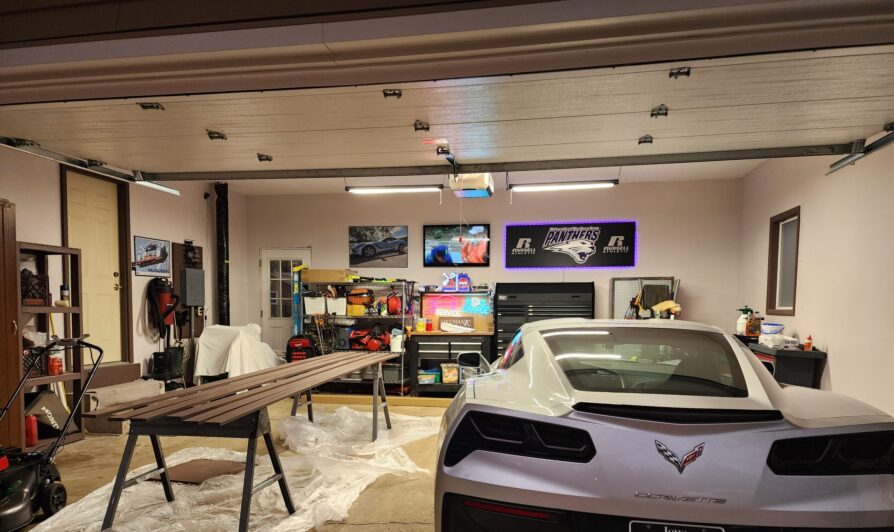
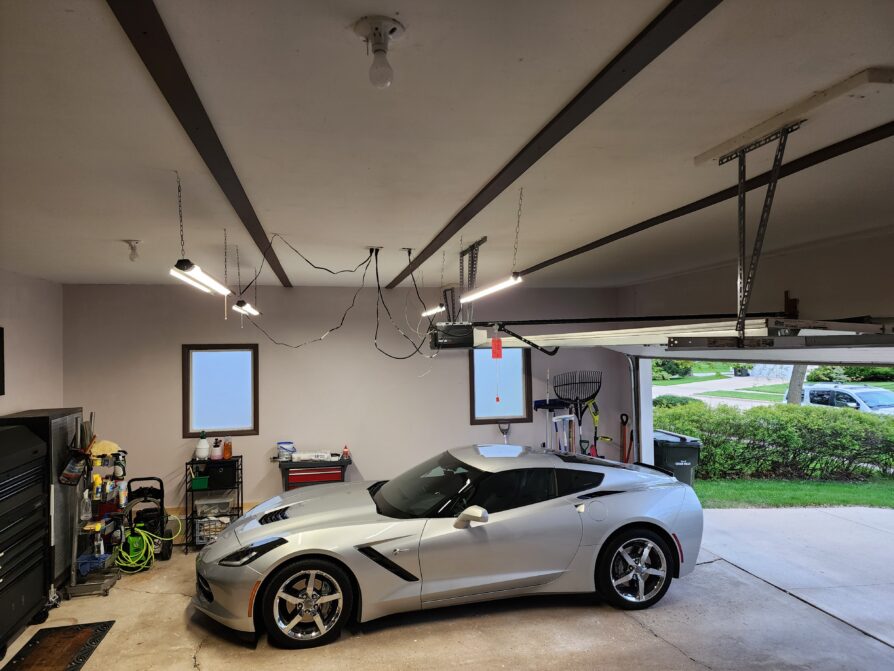
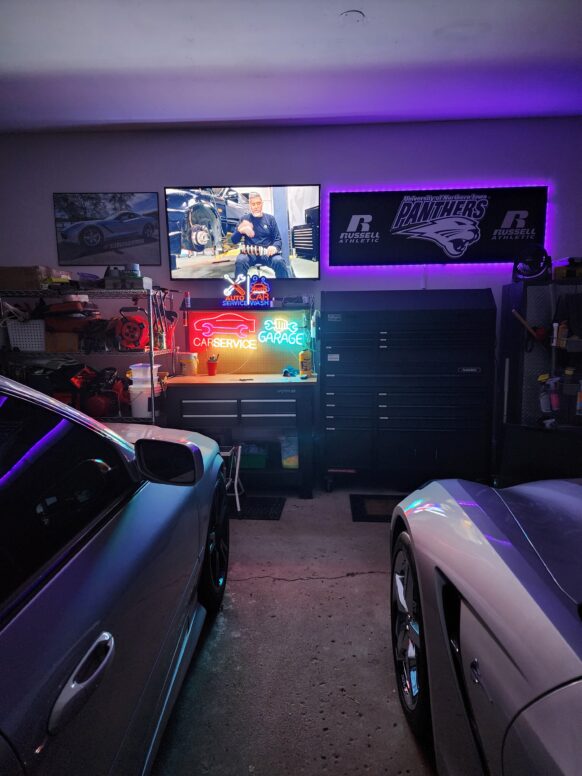
I put the garage back together and took more pictures of the results.

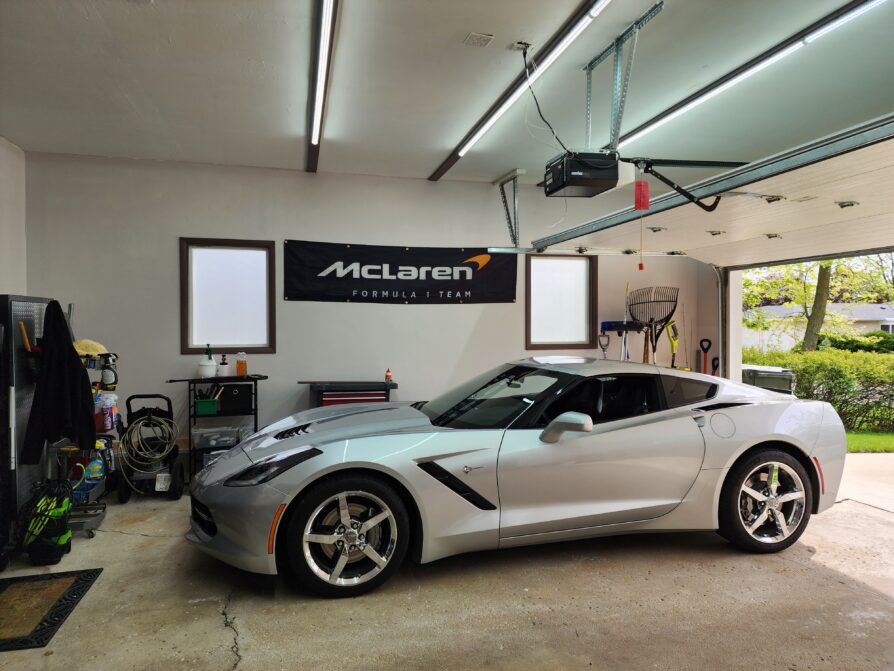
I think it is a little bright…
Cost:
LED lighting $120
Misc electrical supplies $50
Total: $170
Time Spent: 4 Hours
The final components are two things I have wanted for years: a heater and a ceiling fan so that the shop becomes bearable all year long. I had an electrician come over to install a 30 amp breaker in the sub panel in my garage and then surface-mount flex conduit to the spot on the ceiling for the heater. It was a short run since the panel wasn’t far from the heater location.

My friend Tom installed the heater on 10/26/2024, and Cody wired it up on 10/28/2024. I thank them for doing it right since I don’t touch AC power.
I added a 65″ display to replace the 42″ above the workbench.
Cost:
Heater $200
Supplies and electrician labor: $550
Total: $750
Time Spent: 2 Hours
TOTAL GARAGE REFRESH COST: $1700.00
Copyright 2026 Sledgehammer Performance - All Rights Reserved