I am a big fan of clean, bright LED lighting. I decided to replace the footwell and side marker lighting with LED kits and after a lot of research, I purchased the set from Oracle Lighting. I had looked at a lot of different, less expensive brands, but I wasn’t convinced that the lights would last and went with the “you get what you pay for” mindset. I read on the Corvette forum that some aftermarket side marker kits can cause problems with the TPMS sensors sending data to the computer, which can lead to the StabiliTrak system helping out way too much for safety reasons. Oracle kits are known to be trouble-free and are backed by a nice warranty and good customer service. They also have very clean, crisp lighting within the slightly larger housings, which had to be designed that way to cool the LED bulbs properly.
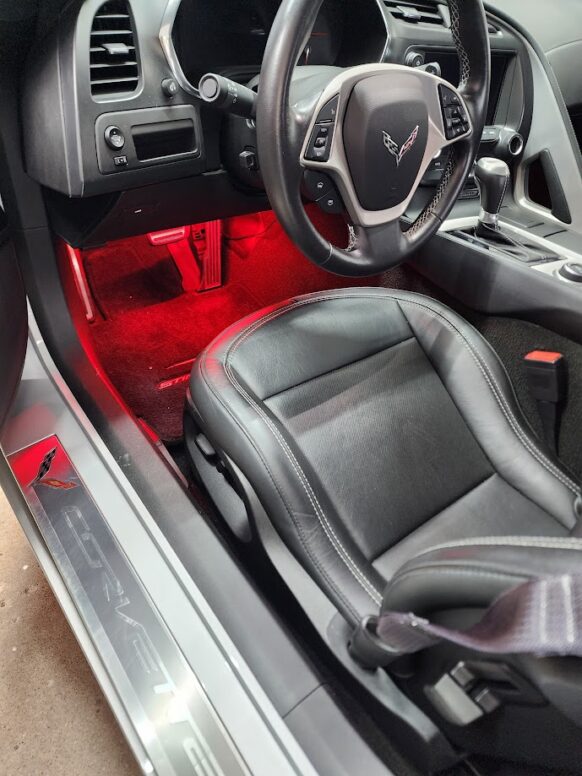
I bought a set of red footwell lights from West Coast Corvettes. The nice thing about the kit is that it wires directly to the stock wiring harness, so there is no cutting or splicing. Remove the trim panels, pop out the factory bulb, plug in the LED strip, and then mount it to the trim panel. You have to be a bit of a contortionist to do this since you have to remove some trim to get the old bulb out and plug the new LED strip in. I like the fact that it retains the factory theater fade effect and they are bright. I took the panels entirely out of the car to make it easier to adhere the strips to the panel.
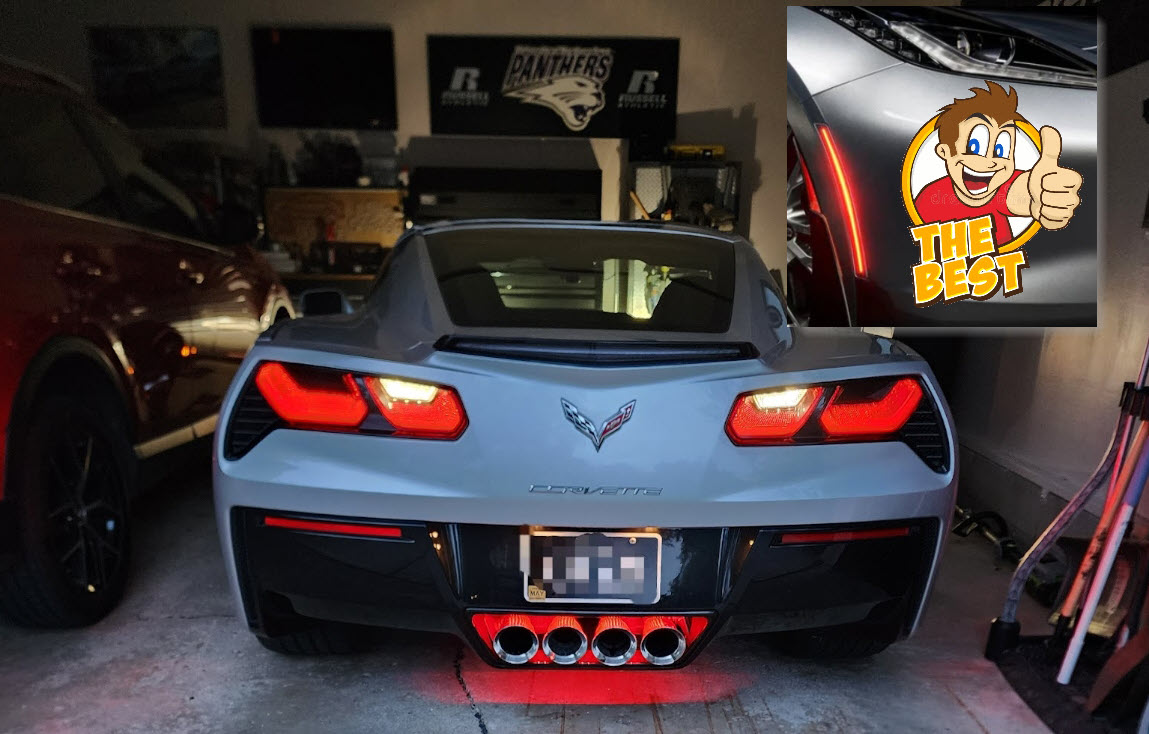
Next, I installed exhaust tunnel lighting. It was pretty easy to run the wire to the side marker light, but I had to wait until my NASA heat tape arrived so I could protect the wiring from the hot exhaust. With NPP valves, it is a little tricky to keep wire away from hot stuff. It has a really cool effect, and it attracts some attention to the road at night. It is legal to run red lights on the back of a car. I really didn’t want to install a switch to turn them off, so red worked out for me. I had toyed with the idea of wiring them to the third brake light to make a 4th brake light but decided I wanted them on for every night drive.

Now, it was time to install the Oracle side marker lights. They came packaged really nicely, which is always a sign of quality to me. If a company takes the time to package its products nicely, it always makes the consumer feel like they are getting a quality piece.
The back set was installed first by taking off the mudguards using a trim tool to pop them out. There is also a 7mm bolt on the underside of the mudguard that must be removed if you want to take it completely out. There are then a couple of T15 screws to take out so you can move the inner fender out of the way. There isn’t much room, so I recommend a 1/4″ socket wrench for a low profile. Then, peel away the inner fender to reveal the wire and back side of the side marker light. Three tabs are holding it to the body panel, so you have to get your fingers in there to squeeze them so that they release and pop out. If you squeeze and push at the same time, they pop right out. Then, remove the wire by sliding the white clip up and pulling the connector from the light. Install is the reverse of removal. The white clip doesn’t like to seat itself on the Oracle lights, but I don’t feel that it is necessary since it is a very snug fit.
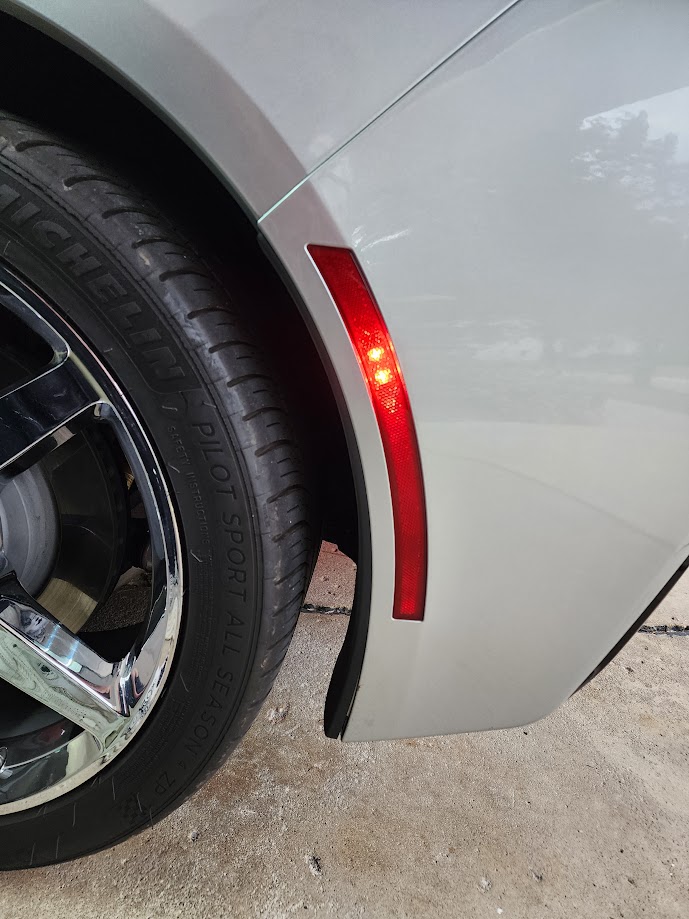
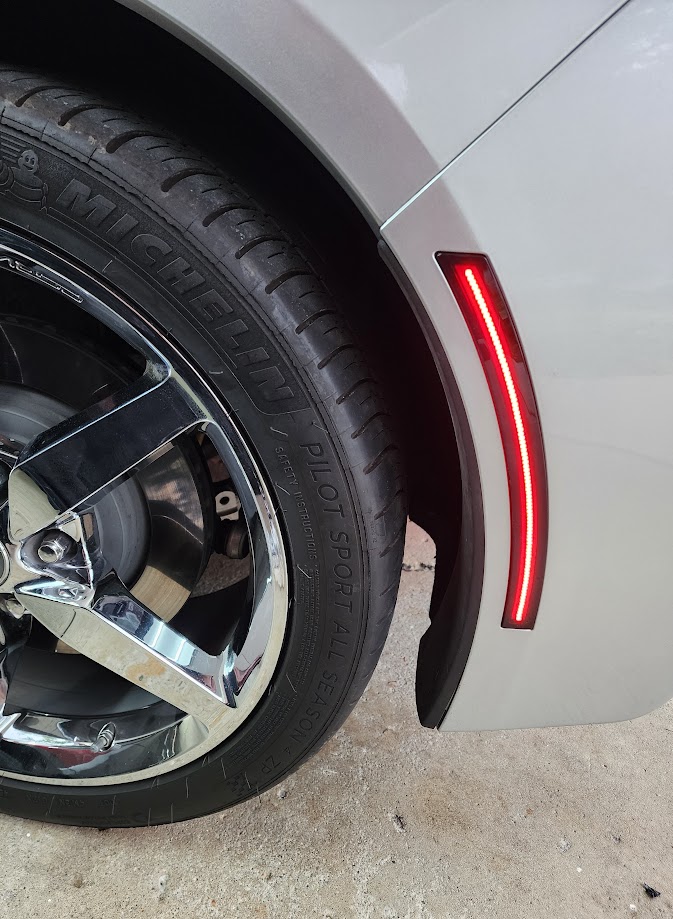
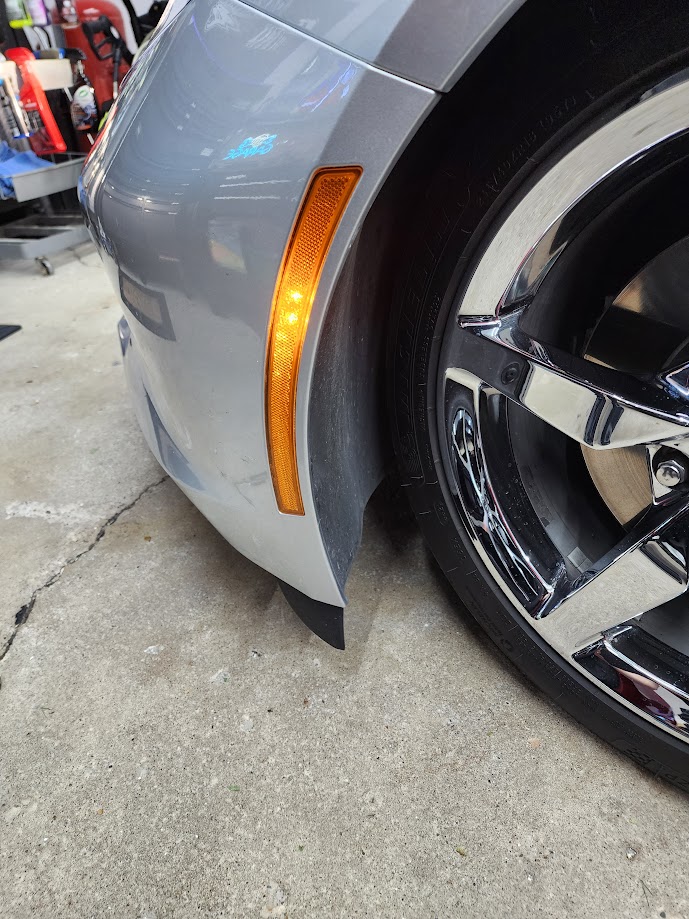
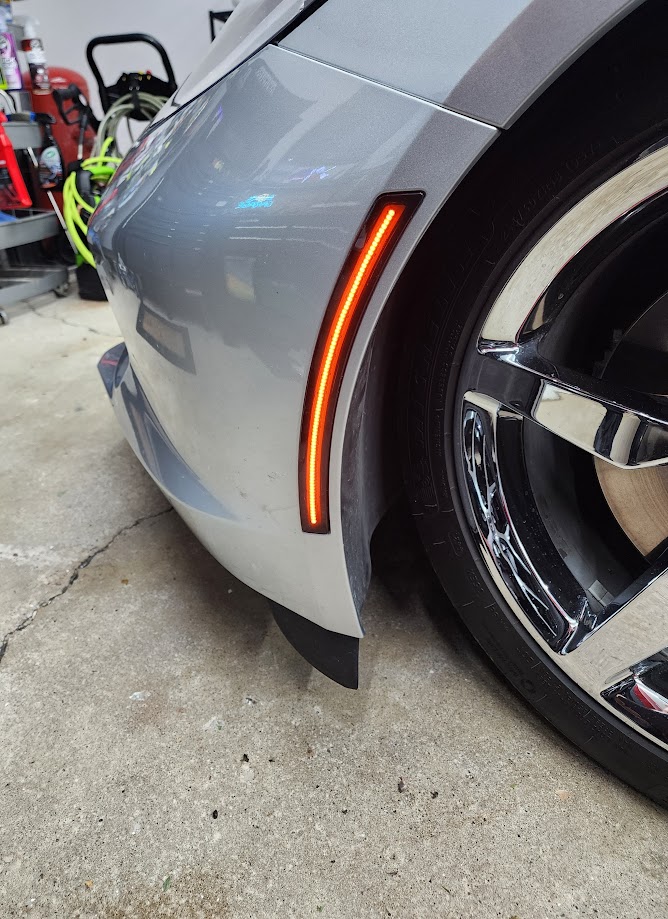
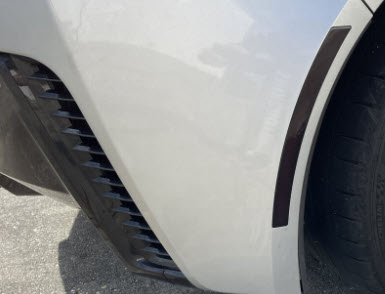
Below is how the rear light looks illuminated, LED versus stock bulbs. When off, the lights have a dark tint, matching the black trim on the car.
For the fronts, it is slightly different since you have to start the car and turn the wheels in the opposite direction to get enough access to the screws. There are three T15 torx head screws to remove before you peel back the inner fender to reveal the light. Removal is the same as the rears. Just make sure to fasten the wiring harness to the light securely.
The final step for this lighting project is to replace the license plate and the hatchback interior lights with LEDs. I don’t know why Chevrolet used LEDs everywhere but those two spots, especially on a flagship car like this.
Don’t go cheap on your choice of LED lighting. They should last a long time, but cheaper brands can’t stand up.
Copyright 2025 Sledgehammer Performance - All Rights Reserved