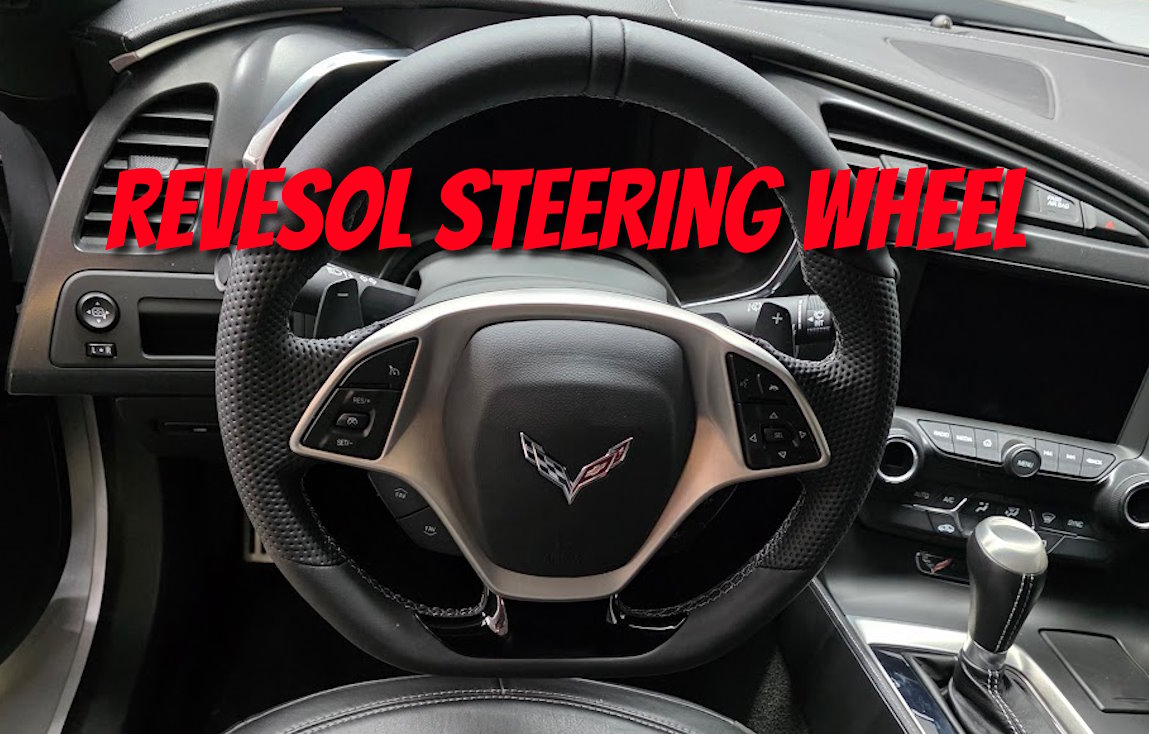
Being the owner of a 2014, I had the good old round steering wheel, and I have always wanted to upgrade to a flat-bottom wheel. Additionally, I was looking for a thicker wheel that felt more substantial. I considered black Alcantara, but I was concerned about wear over time and its property of absorbing sweat and oils from one’s hand. I found a nice perforated leather example on eBay made by Revesol, so I ordered it.

I liked the partially perforated leather and the block center stripe since red looked weird in my silver/black color scheme.
The process was pretty straightforward removing the airbag and wheel. I didn’t have to apply a ton of force to loosen the center bolt, which was a relief. The last thing I wanted was to strip it or break it with an impact. I wouldn’t ever recommend an impact wrench on this!

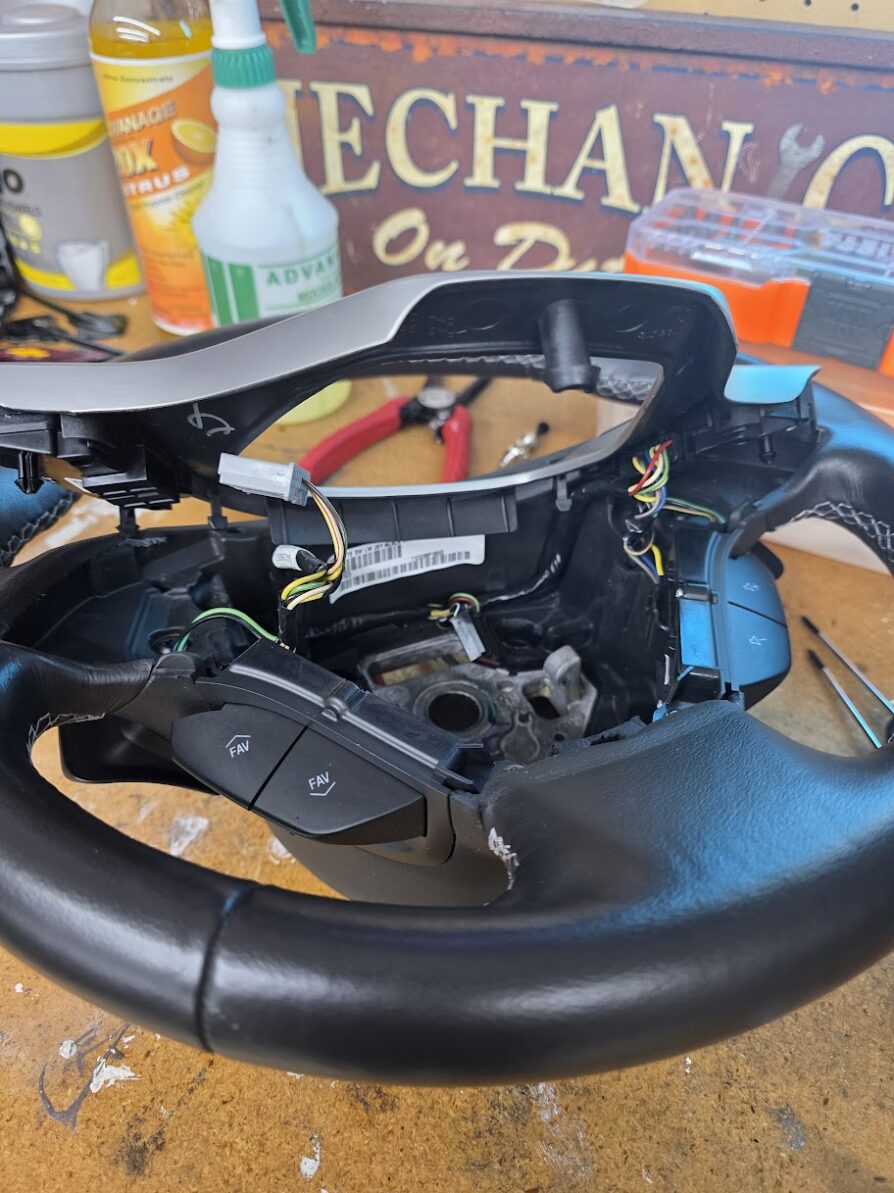

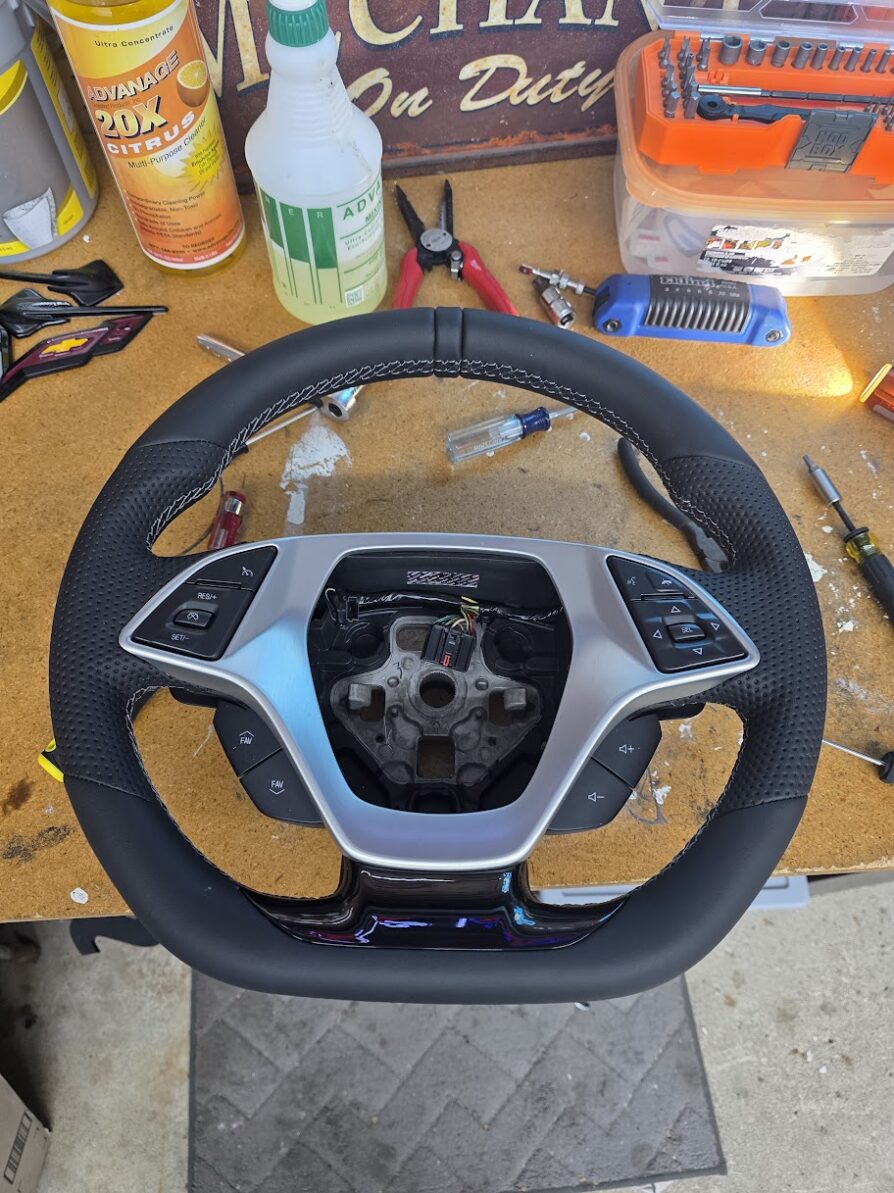

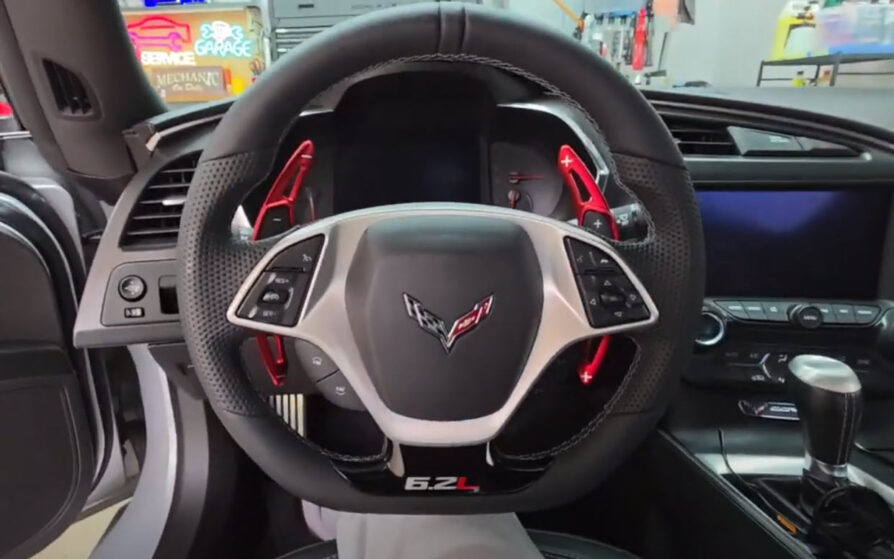
I spent around 45 minutes replacing this part, as I also needed to transfer the wire loom, control buttons, and shifter paddles. Managing the various types of electrical connectors was challenging, as I always seem to break something during this process. However, everything worked perfectly once I finished, and there were no setbacks. Overall, it was a fairly straightforward task, considering the circumstances. A few weeks later, I added the aluminum paddle shifter extensions and the 6.2L decal that is designed to go on the fender vents. The decal looks off-center, but it isn’t. The red L throws the eye off a little bit.
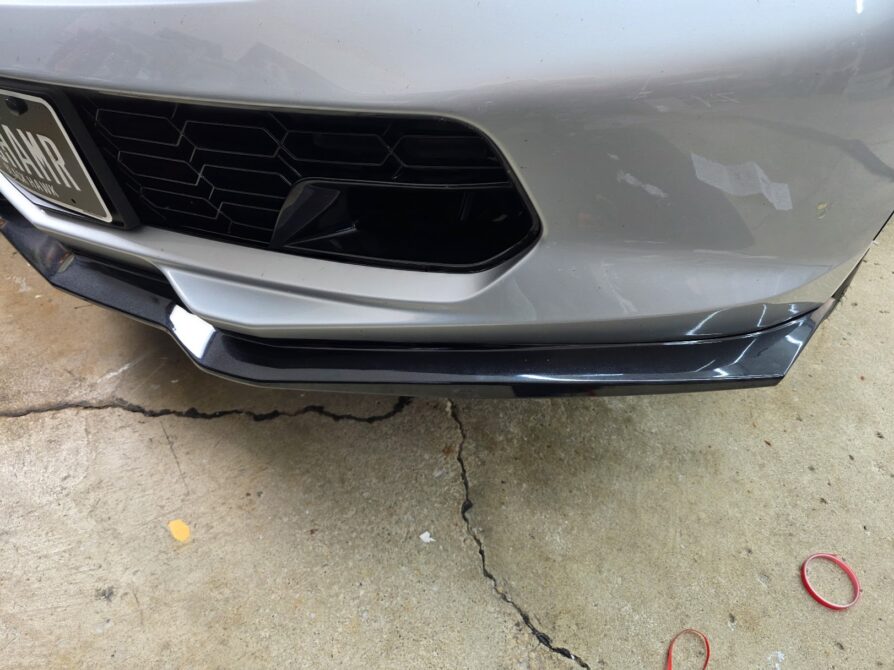
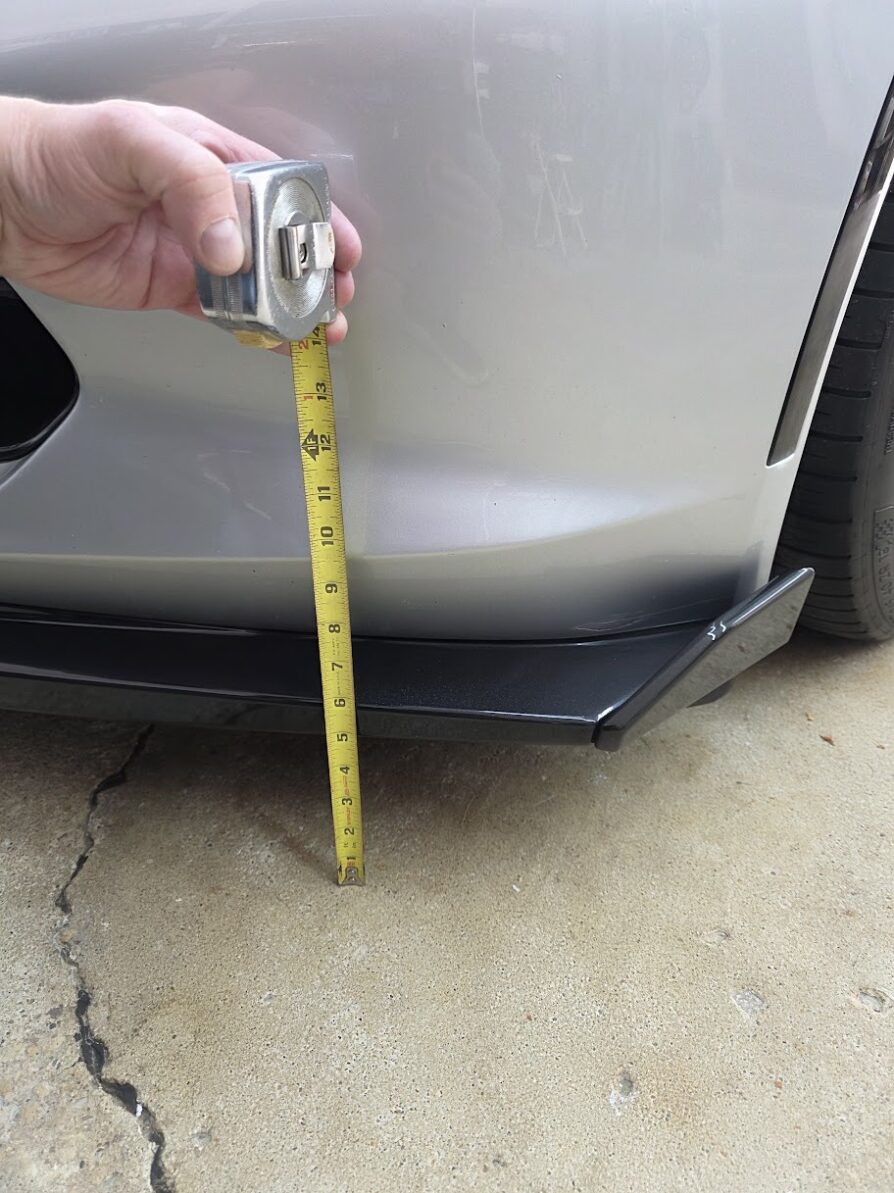
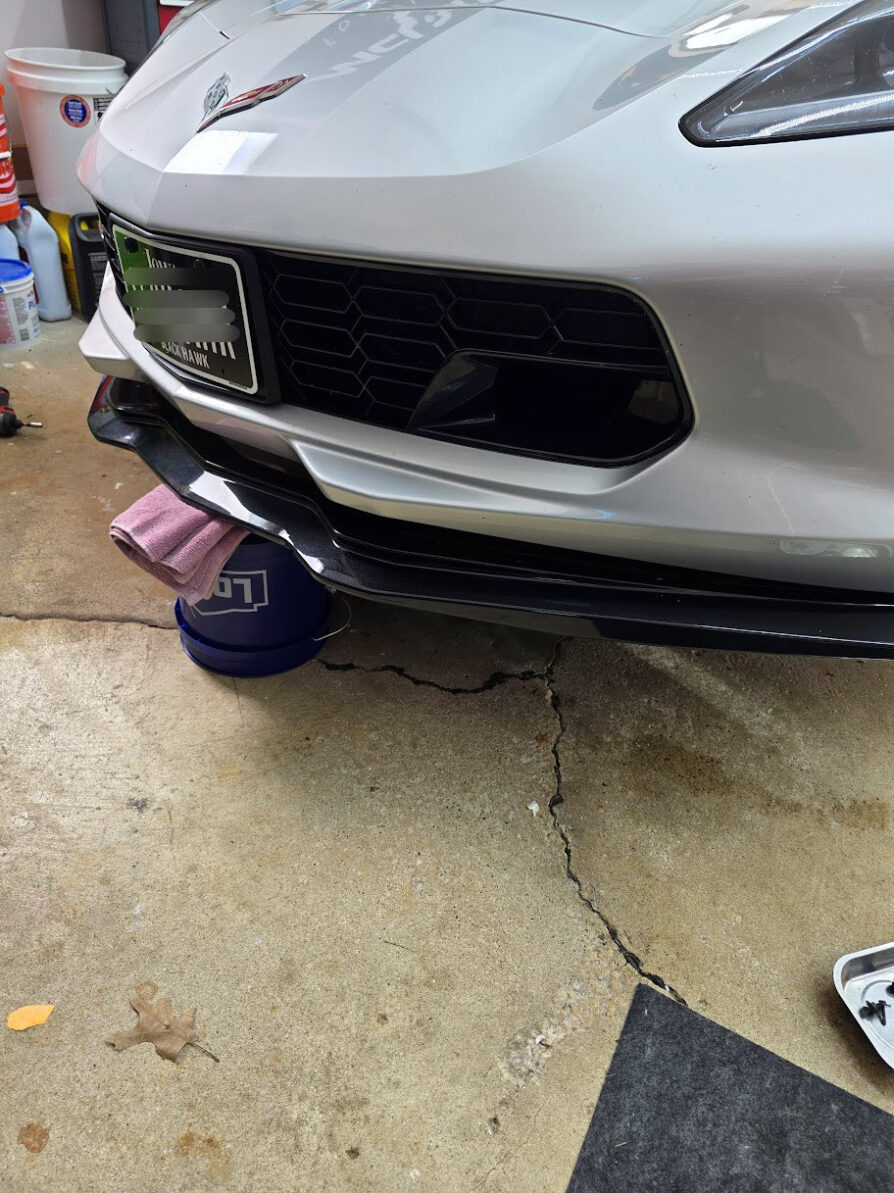
Part 2: Stage 2 front splitter with winglets
My Extreme Online Store stage 2 front splitter and winglets arrived. Everything was in good shape but I was surprised at how flimsy the piece seemed to be. The paint job was very good, but it seems thin and it makes me wonder how well it will hold up in a harsh location like that. The profit margin on these must be insane!
It was an easy install since I had an untaped Stage 1 stock textured plastic version installed. I used the supplied 3M tape and screws to put the new one in place, starting at the outside positions so I could ensure both sides lined up. I worked my way to the center and found that I could use all screw holes. I was a little disappointed that the winglets had to be taped on, but I understand that not everyone would want them, and it didn’t make sense to put holes in the splitter if you are selling it both ways.

Copyright 2026 Sledgehammer Performance - All Rights Reserved